Roasted Hatch Green Chile
My love for Hatch green chile runs deep, as I was born and raised in New Mexico. I had no idea that outside the southwest they didn’t know what green chile was. That seems like a crime to me considering it literally pairs perfect with everything. Colorado tries to claim being the home of green chile but considering it originated in Hatch, New Mexico, I’d say we claim it.
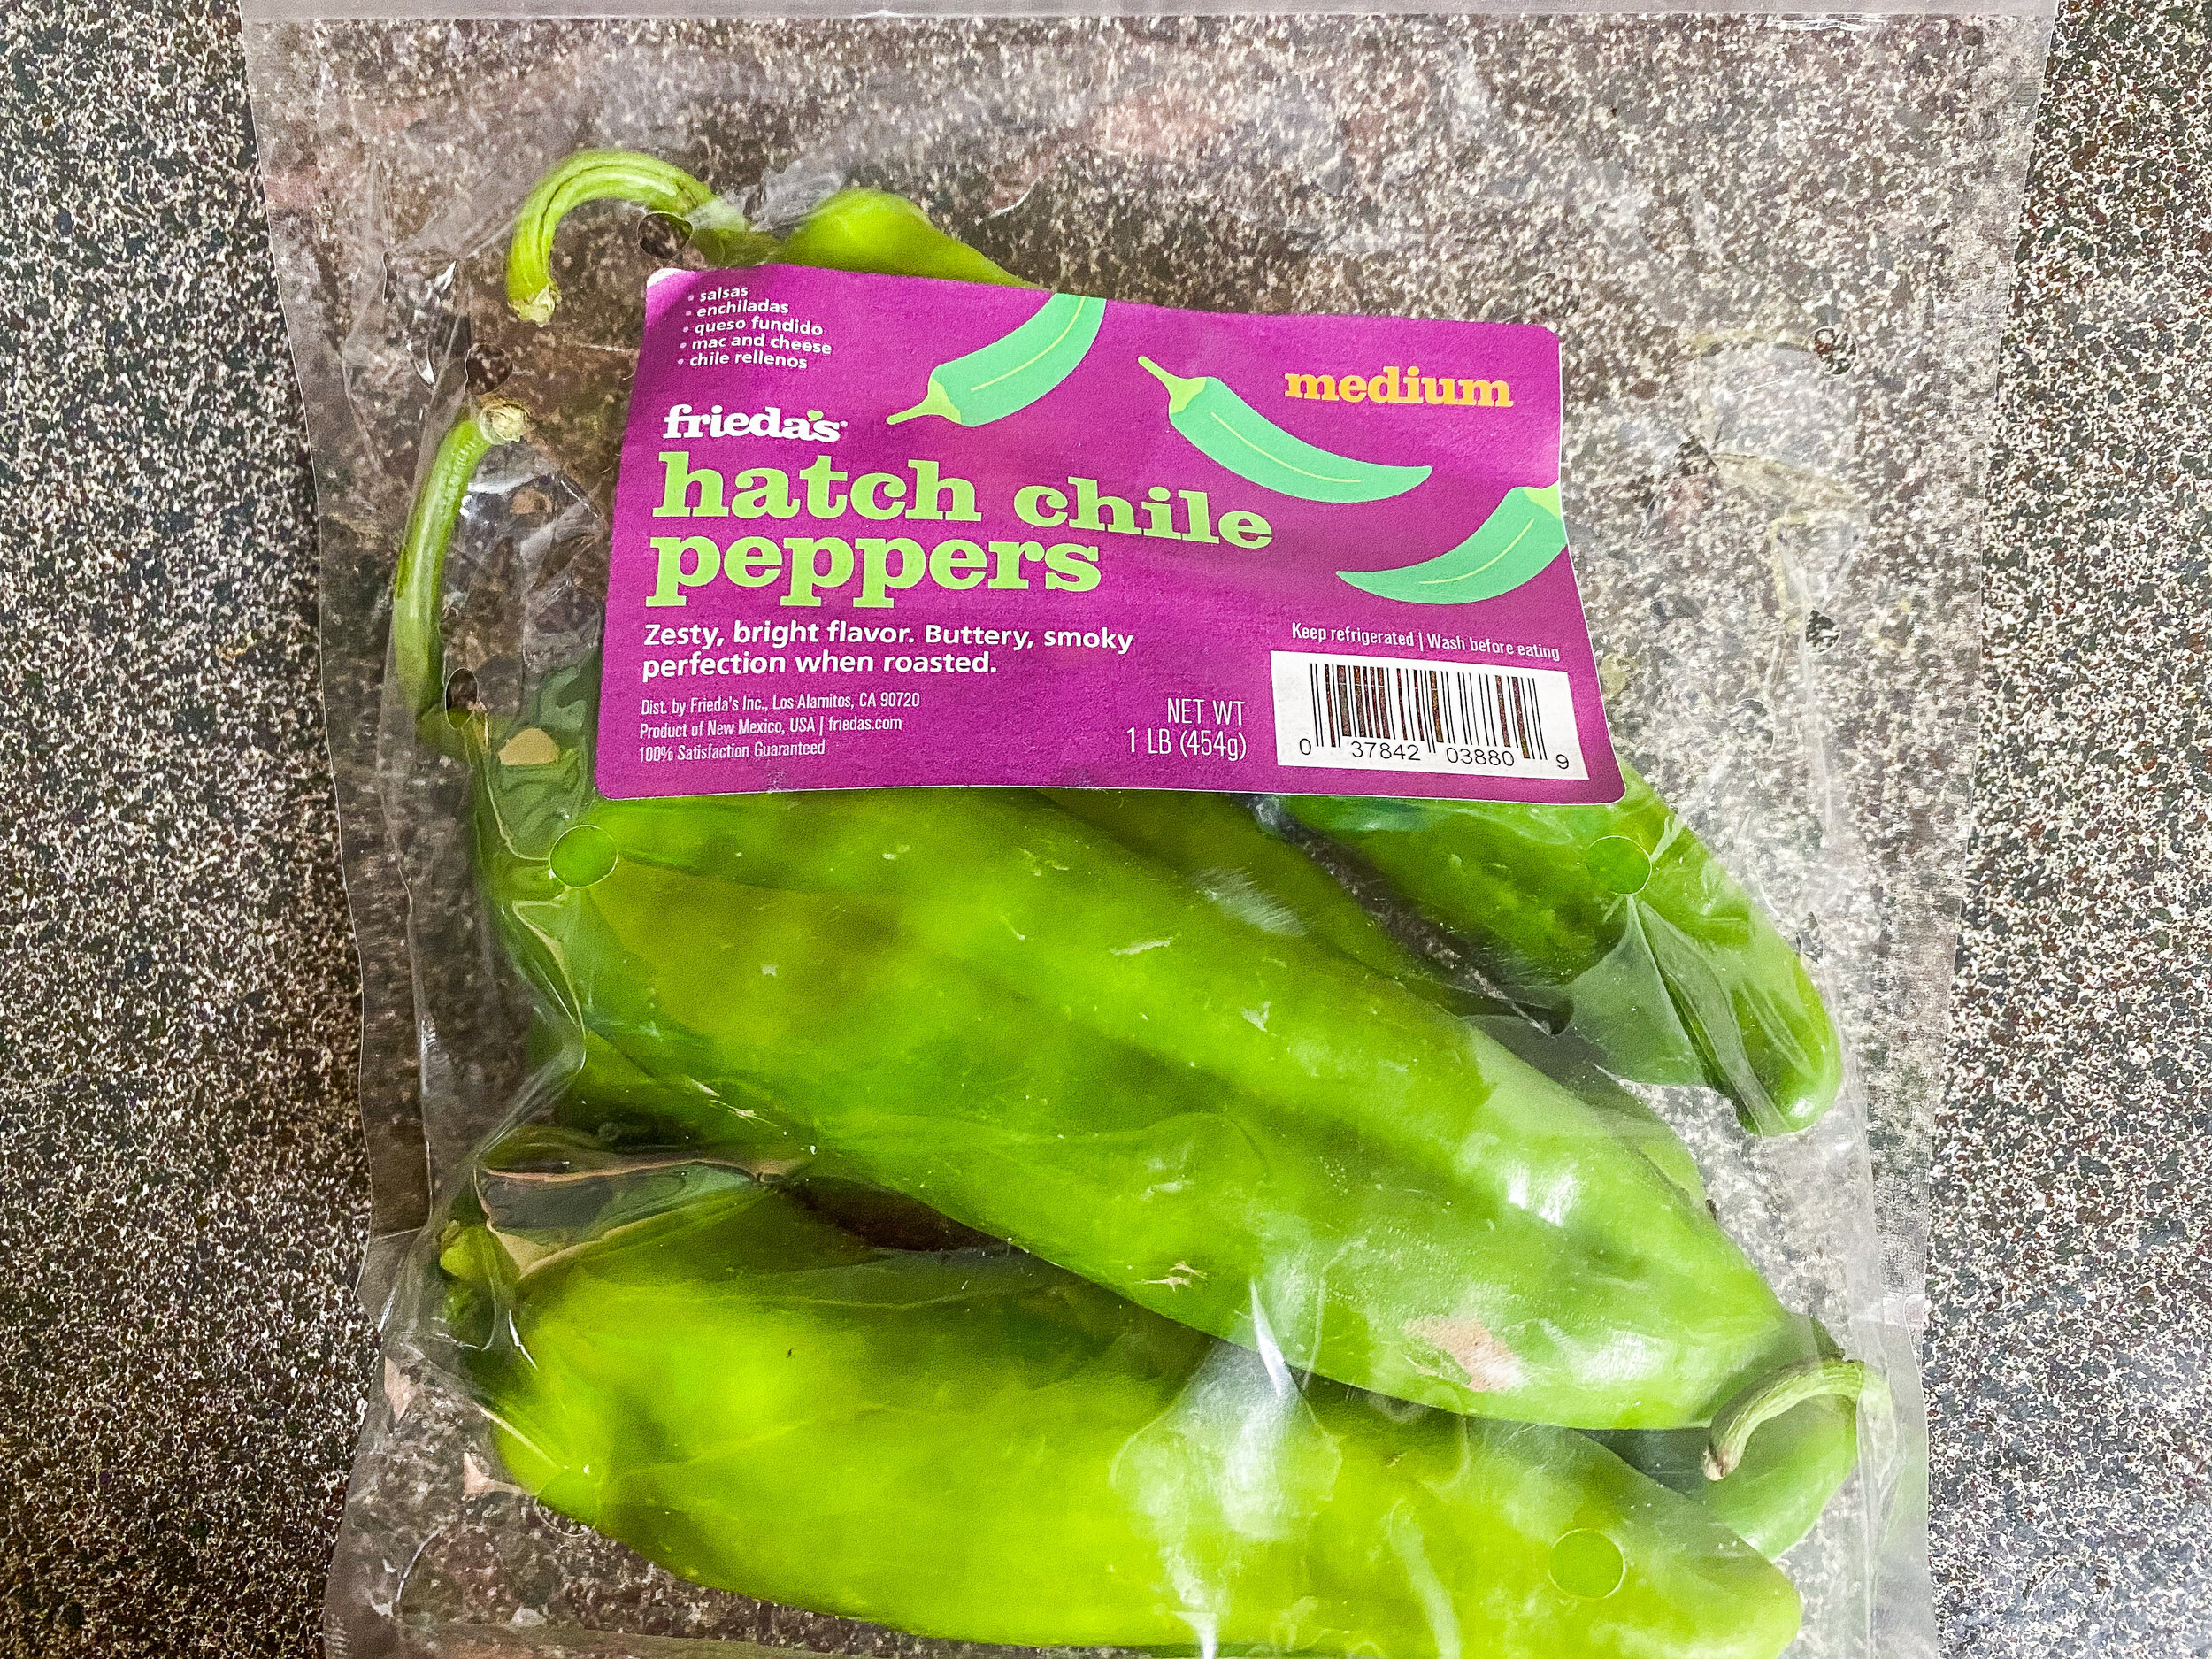
You know Fall is coming when all the grocery stores in NM start roasting fresh green chile in front for you to buy. It is the legit best smell in the world, and you can even buy candles that smell like it here. The owner said it took her over a year to get the formula right, but it smells exactly like the real thing.
This recipe called for you to roast these under the broiler in the oven. If you have a gas oven or grill, you can roast each one over the open flame, but I don’t have either. I also had ten pounds to roast after Trader Joe’s got a limited shipment. Doing them one at a time sounds tedious and I don’t have the patience.
This recipe needs you to sort of baby the chiles so they roast evenly on each side. I found five to six minutes seemed to be enough on each side. If your oven doesn’t heat evenly, I would move the chiles or cookie sheets around, so they all get equally roasted.
I’m making several meals with this these this week, including a special dip and chile rellenos I have been dreaming of making. Also thinking of perfecting my chicken green chile enchiladas because this batch of chile is the right amount of heat and flavor.
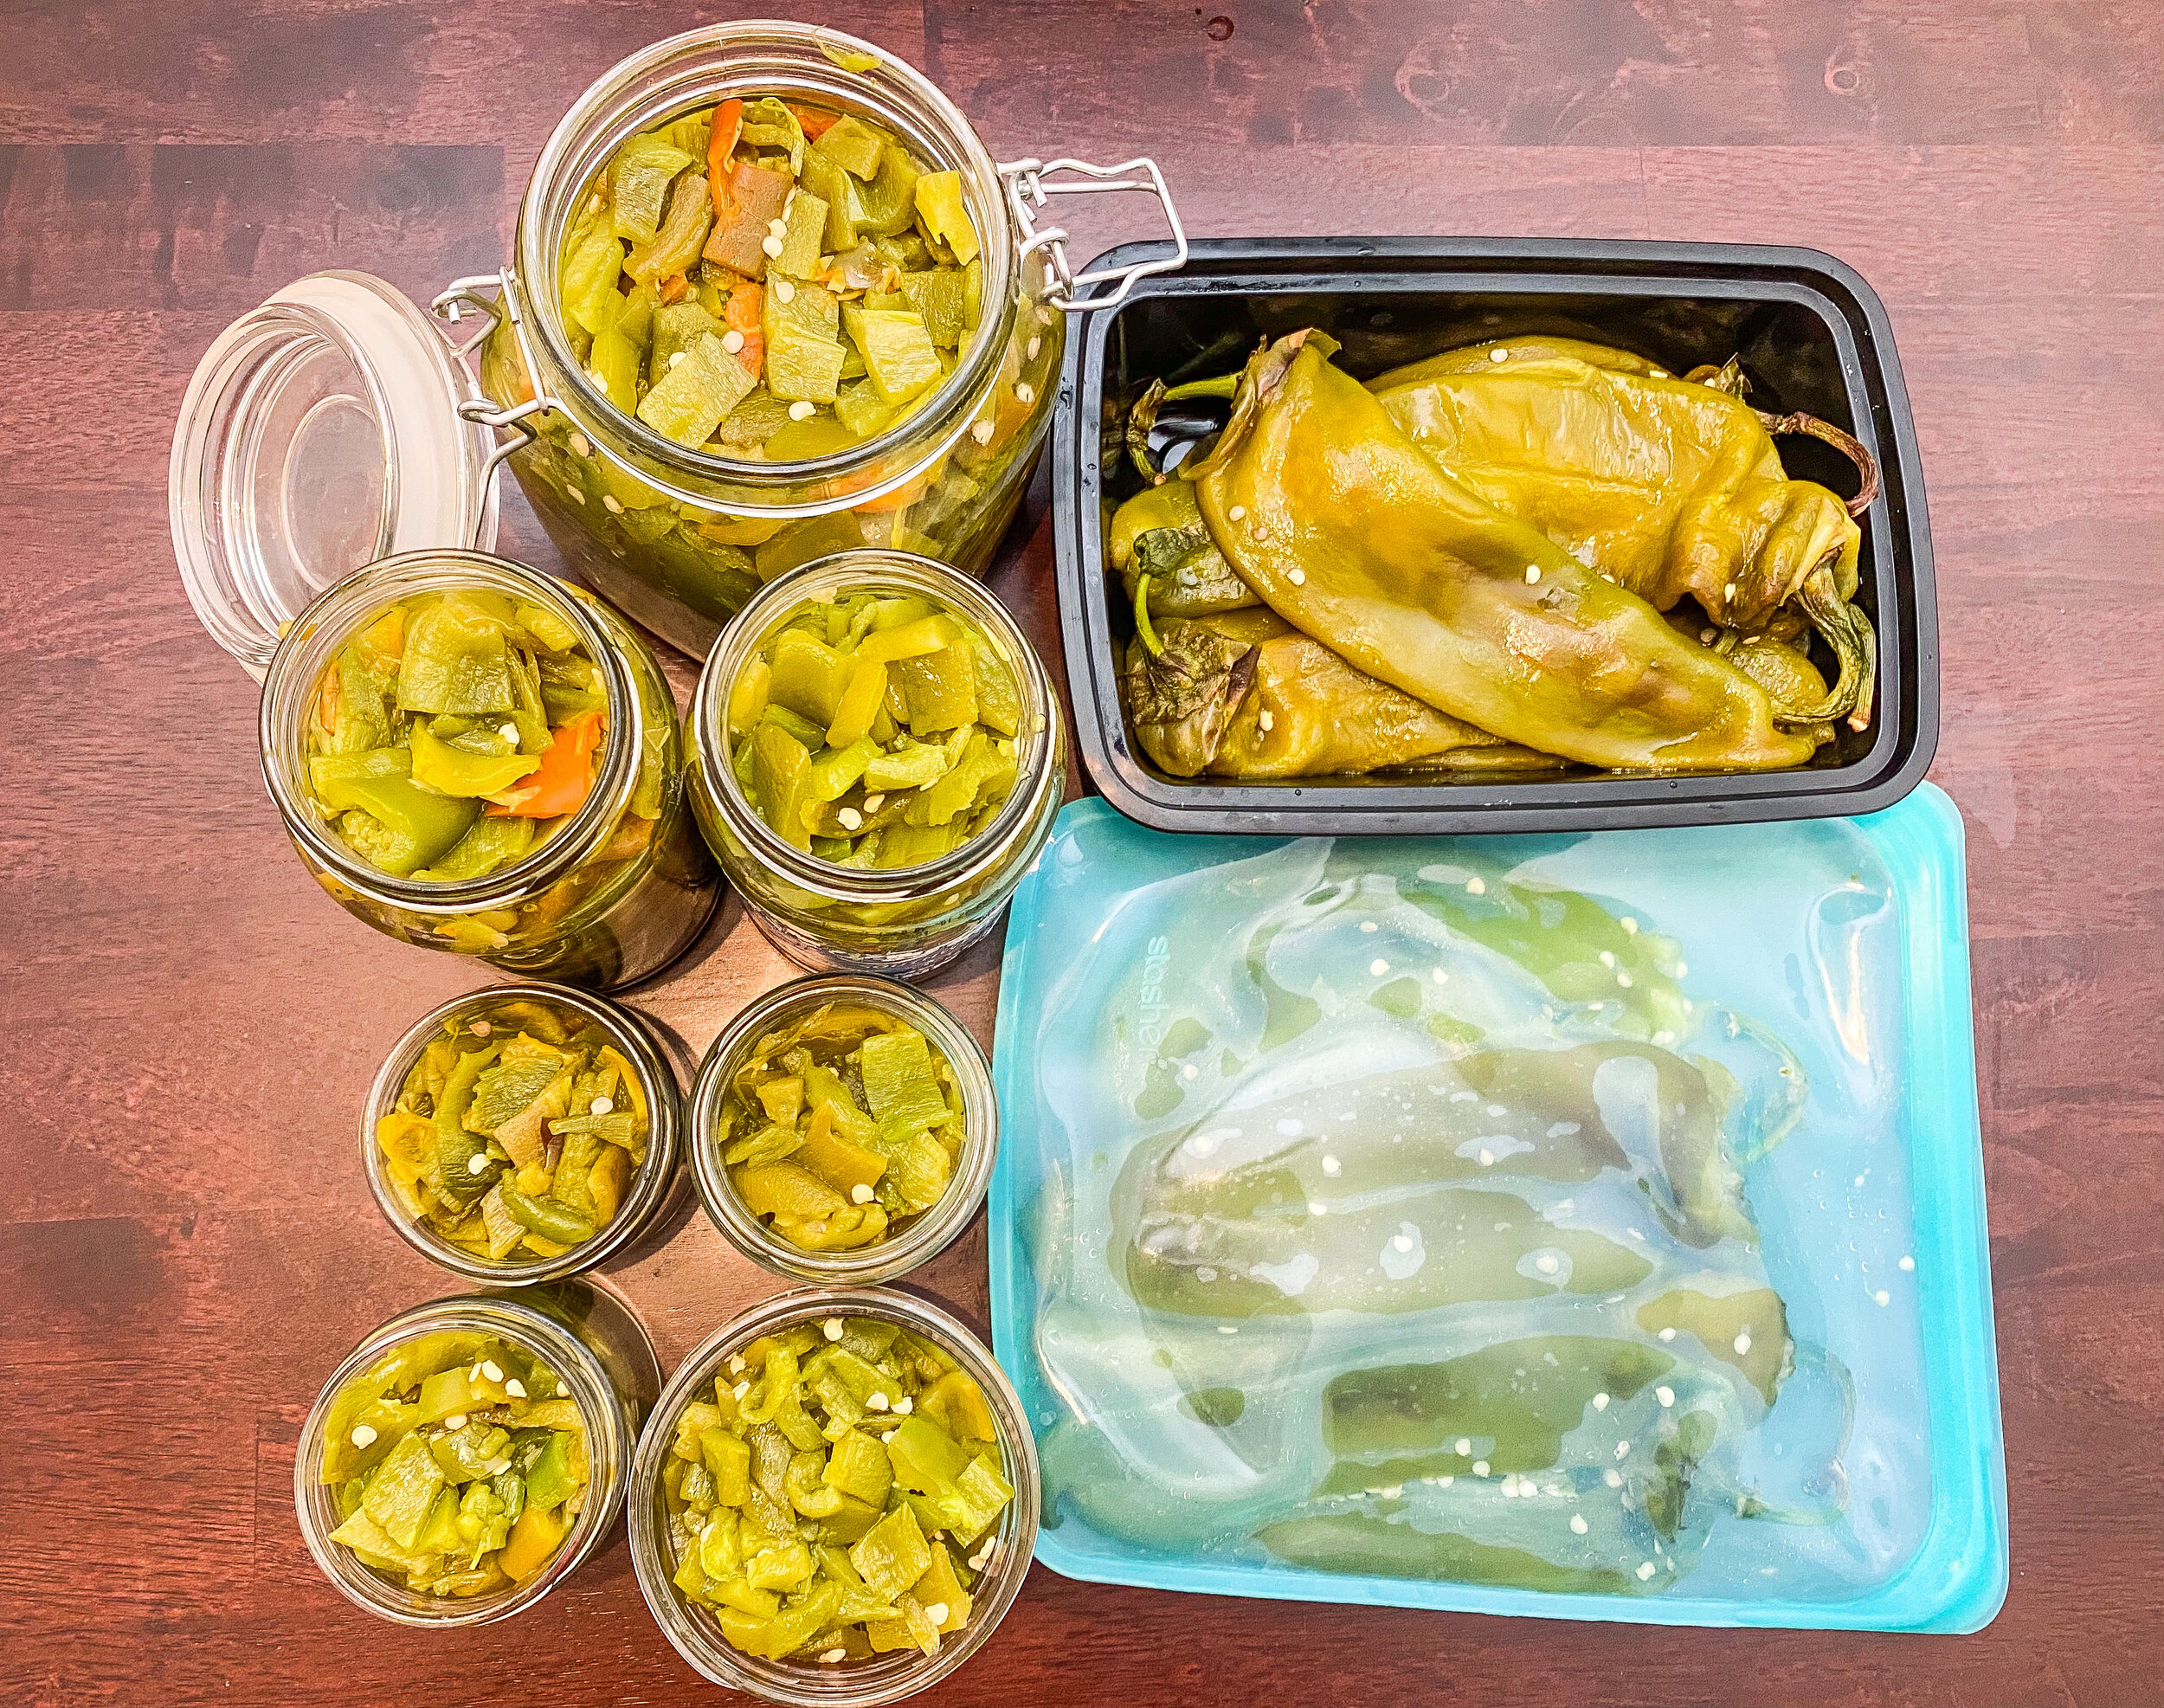
I like to freeze a good amount in small glass jars, about a cup worth each. This way I can defrost my meals and not defrost more than planned. I make a couple of larger jars when I know I am making a larger meal with it. Stasher bags also work well if you don’t want to use glass. I don’t know how to can things, otherwise you can do that after you roast it.
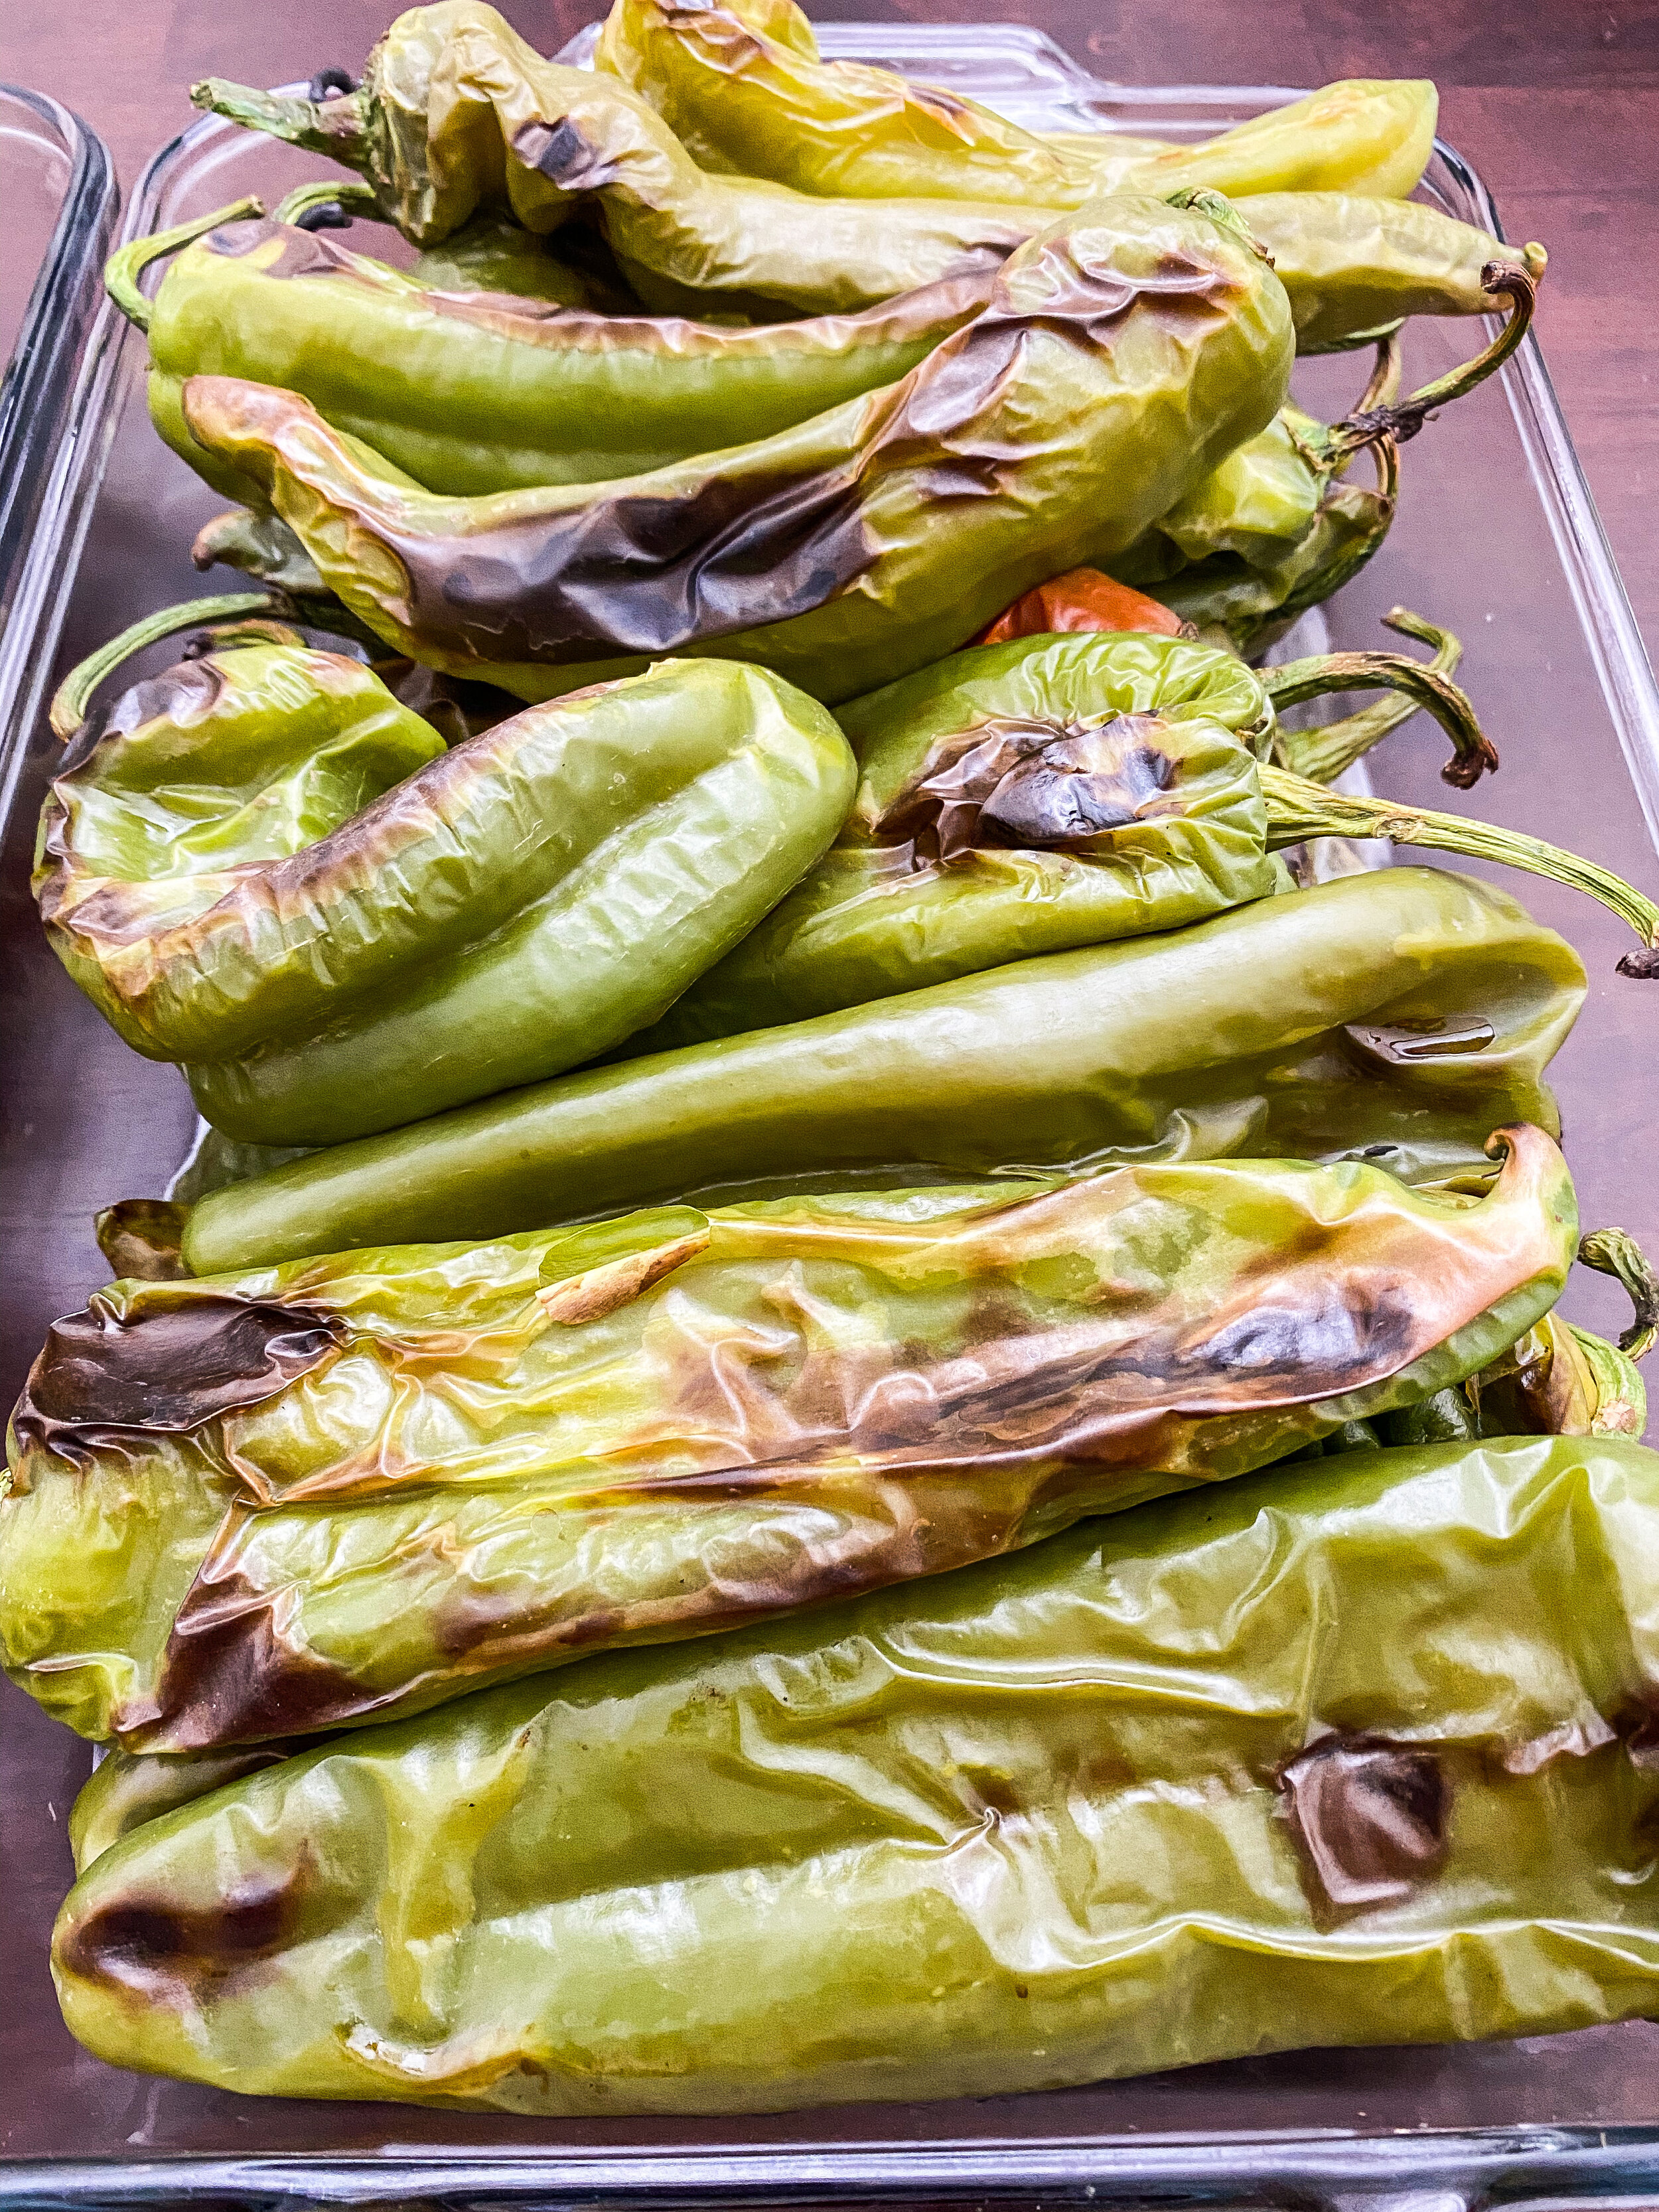
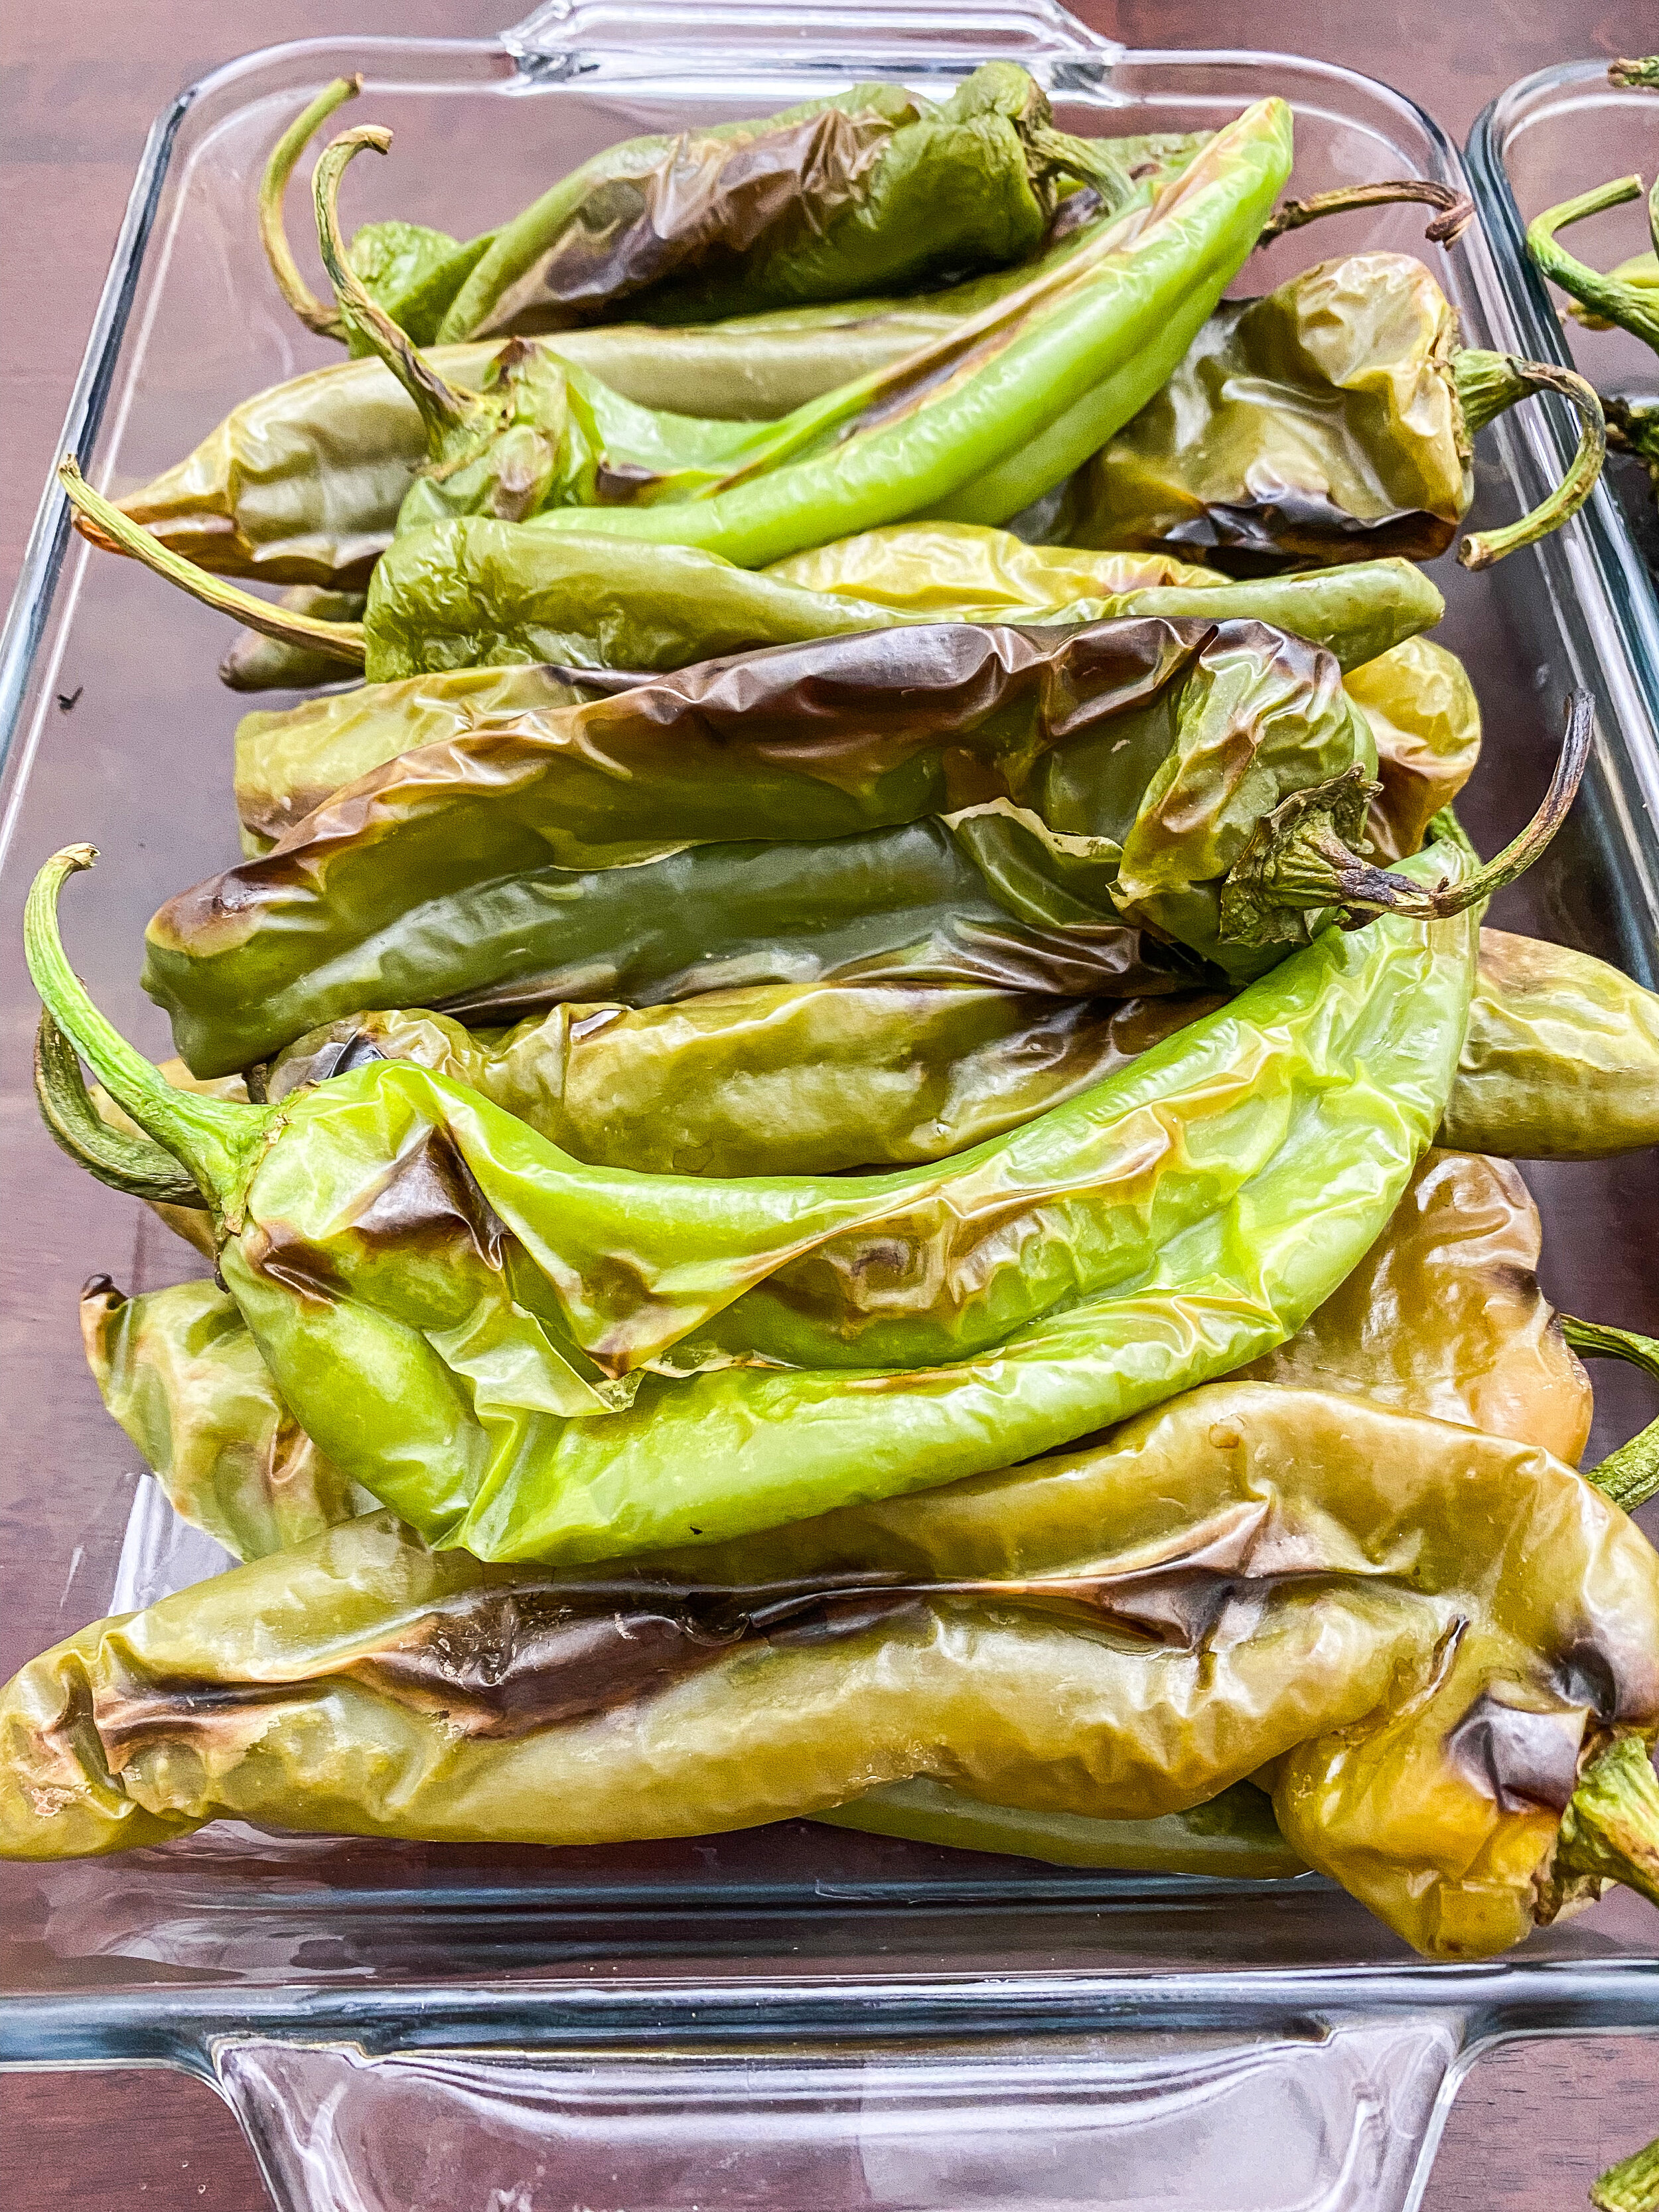
The key to making the peeling of the skin easy, is by steaming the chile after you pull it from the oven. This helps the skin pull away from the chile and makes it easier to pull off. You can do this one of two ways. First way is to lay out a large dish towel you get wet with warm water and rinsed out. Lay the chile out on the warm towel and lay another wet, warm dish towel on top. This will trap the heat in and steam it as well. This was how we always did it growing up. The second way is to put them in a sealable container larger enough for all of them to steam for five to ten minutes. I had to use a couple of different containers and rotated them around to keep things evenly steamed.
I forget to get gloves for this, but I was mindful to wash my hands a lot and kept them away from my eyes. Make sure you are careful after handling the chiles because they can burn you if you aren’t safe.
This is just the jumping off point to making green chile delish, now you can add it to any meal, and it will take it to the next level. I am excited to share with you what I come up with this week using this perfect pepper and seeing what you think.
Thanks for reading,
Jessica
Roasted Hatch Green Chile

Ingredients
- Hatch green chile (use as much as you want, they don’t cook down. I made ten pounds for this recipe.)
- Cookie sheet, lined with mat or parchment paper
Instructions
- Turn the broiler/broil setting on your oven. Do high if Low/High is the only option. Aim for 425 degrees if it does temperature.
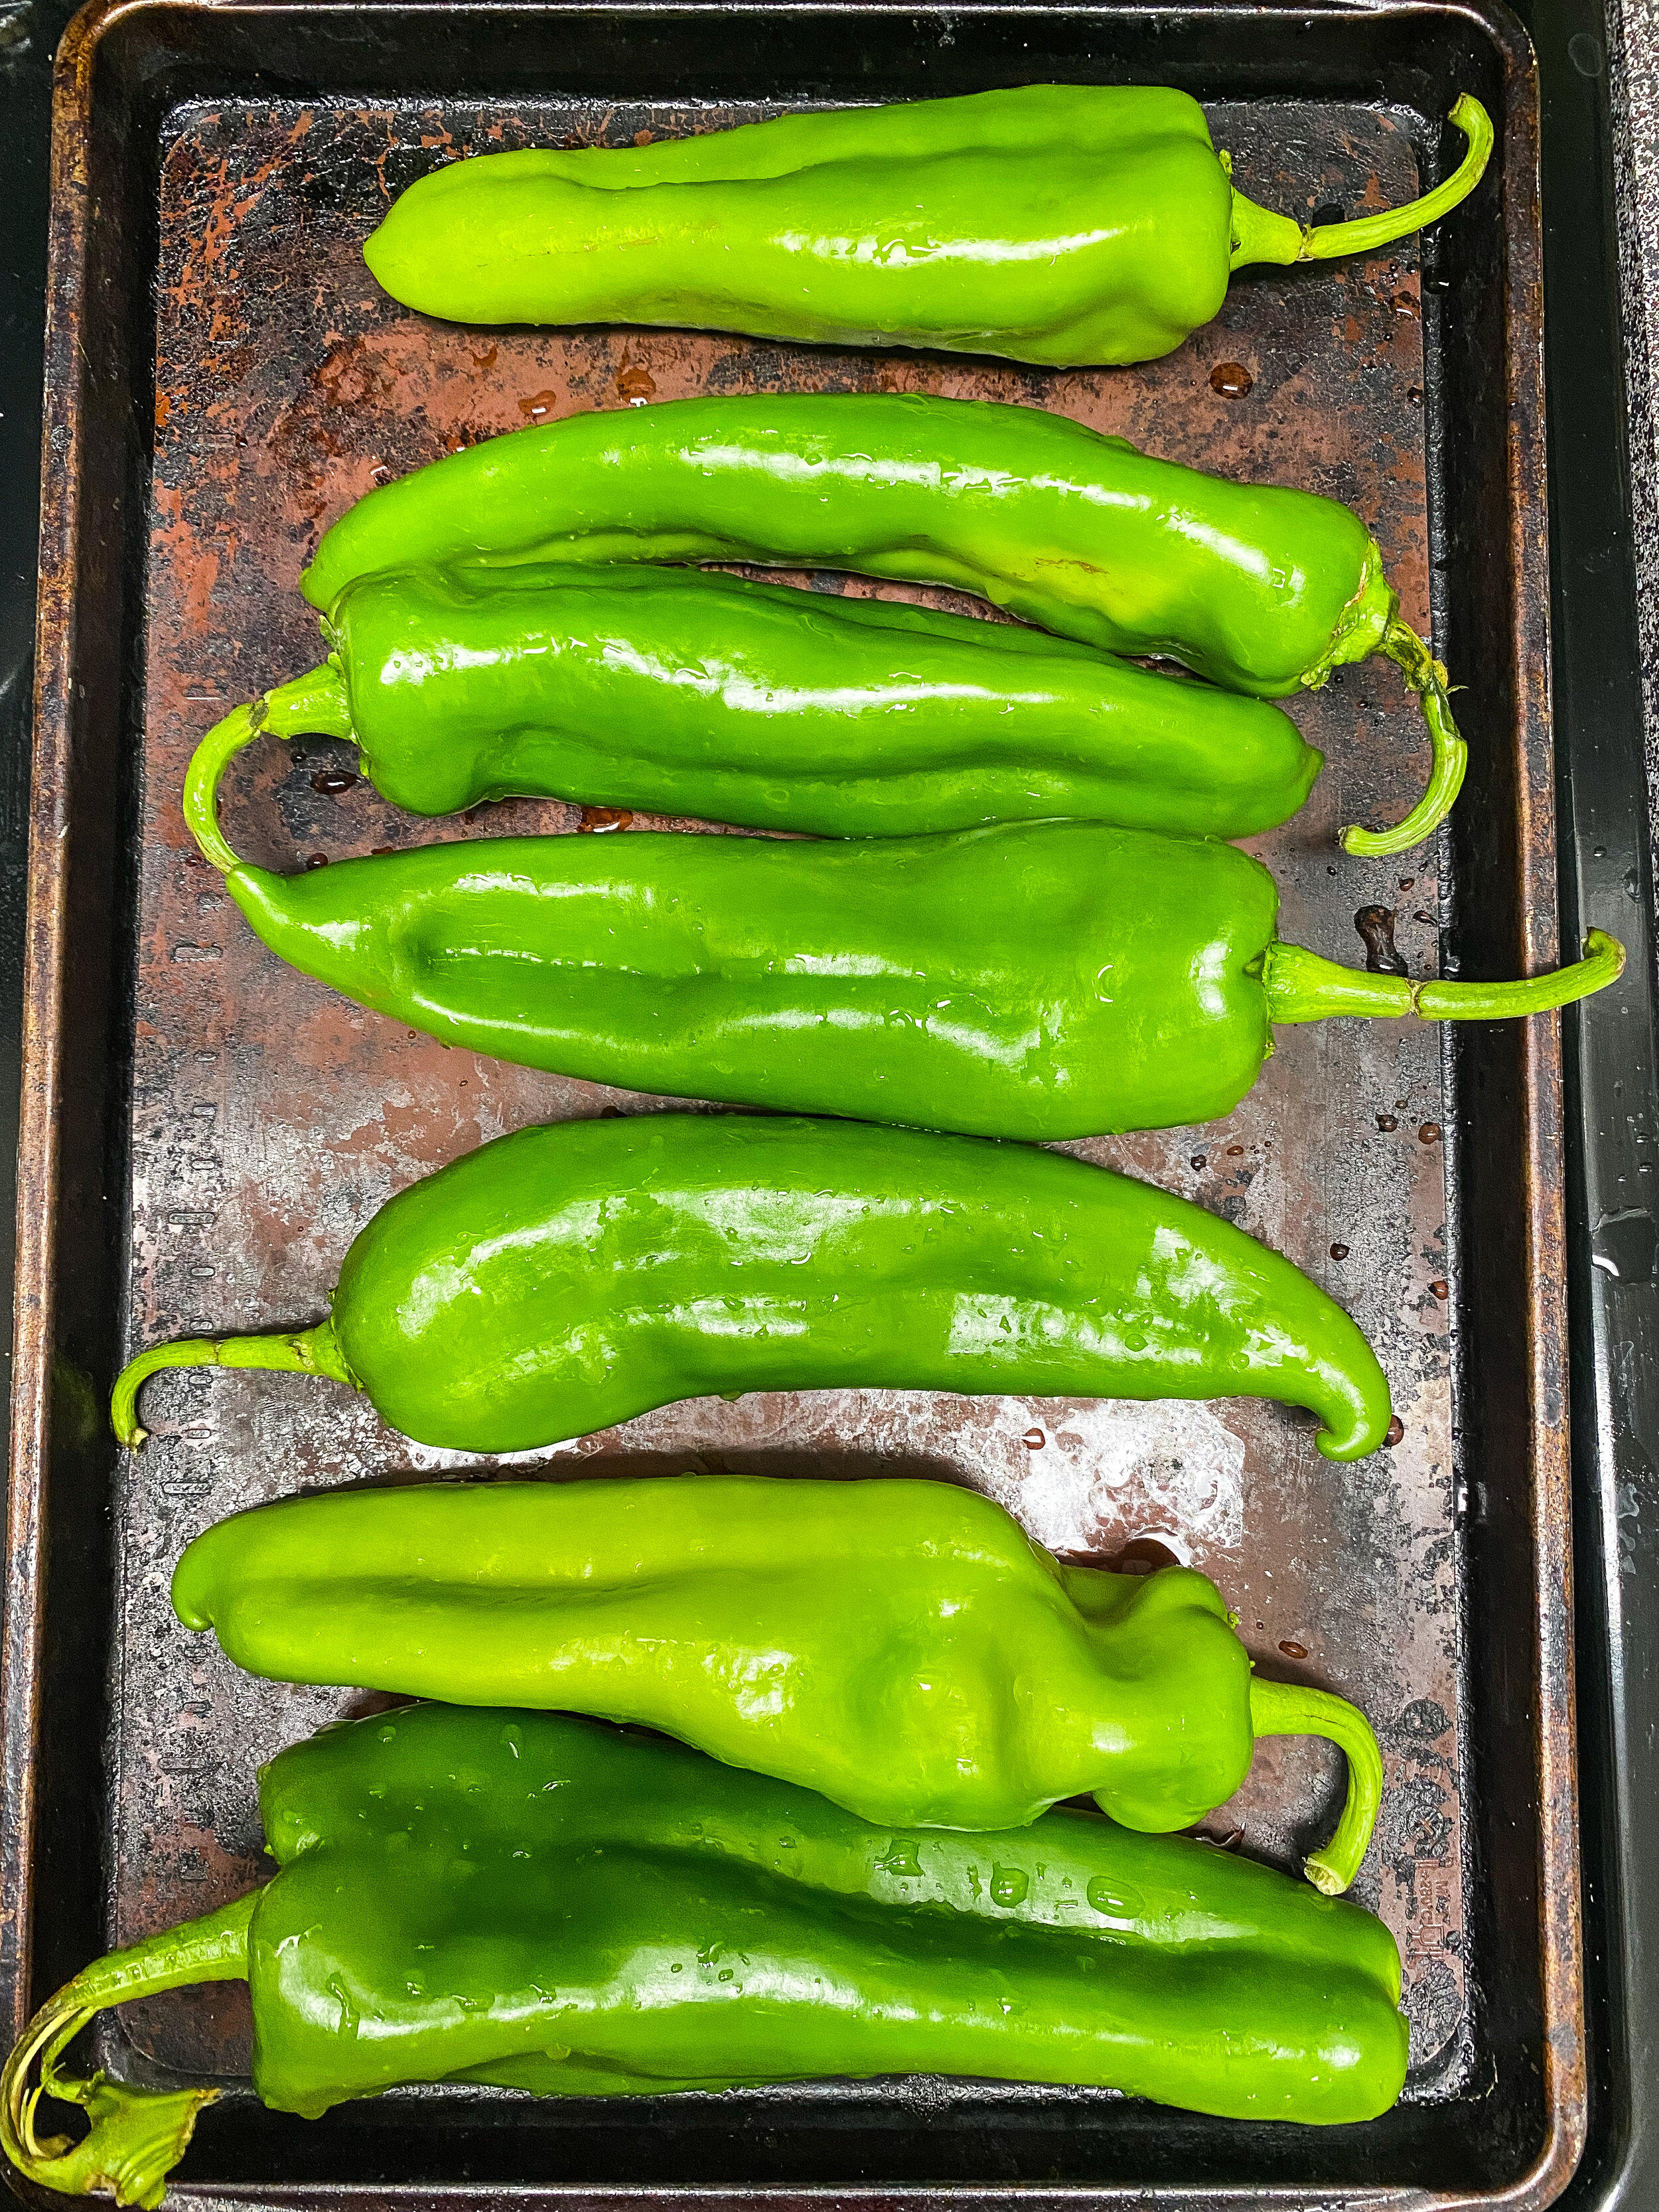
- Wash off all the green chile and pat dry.
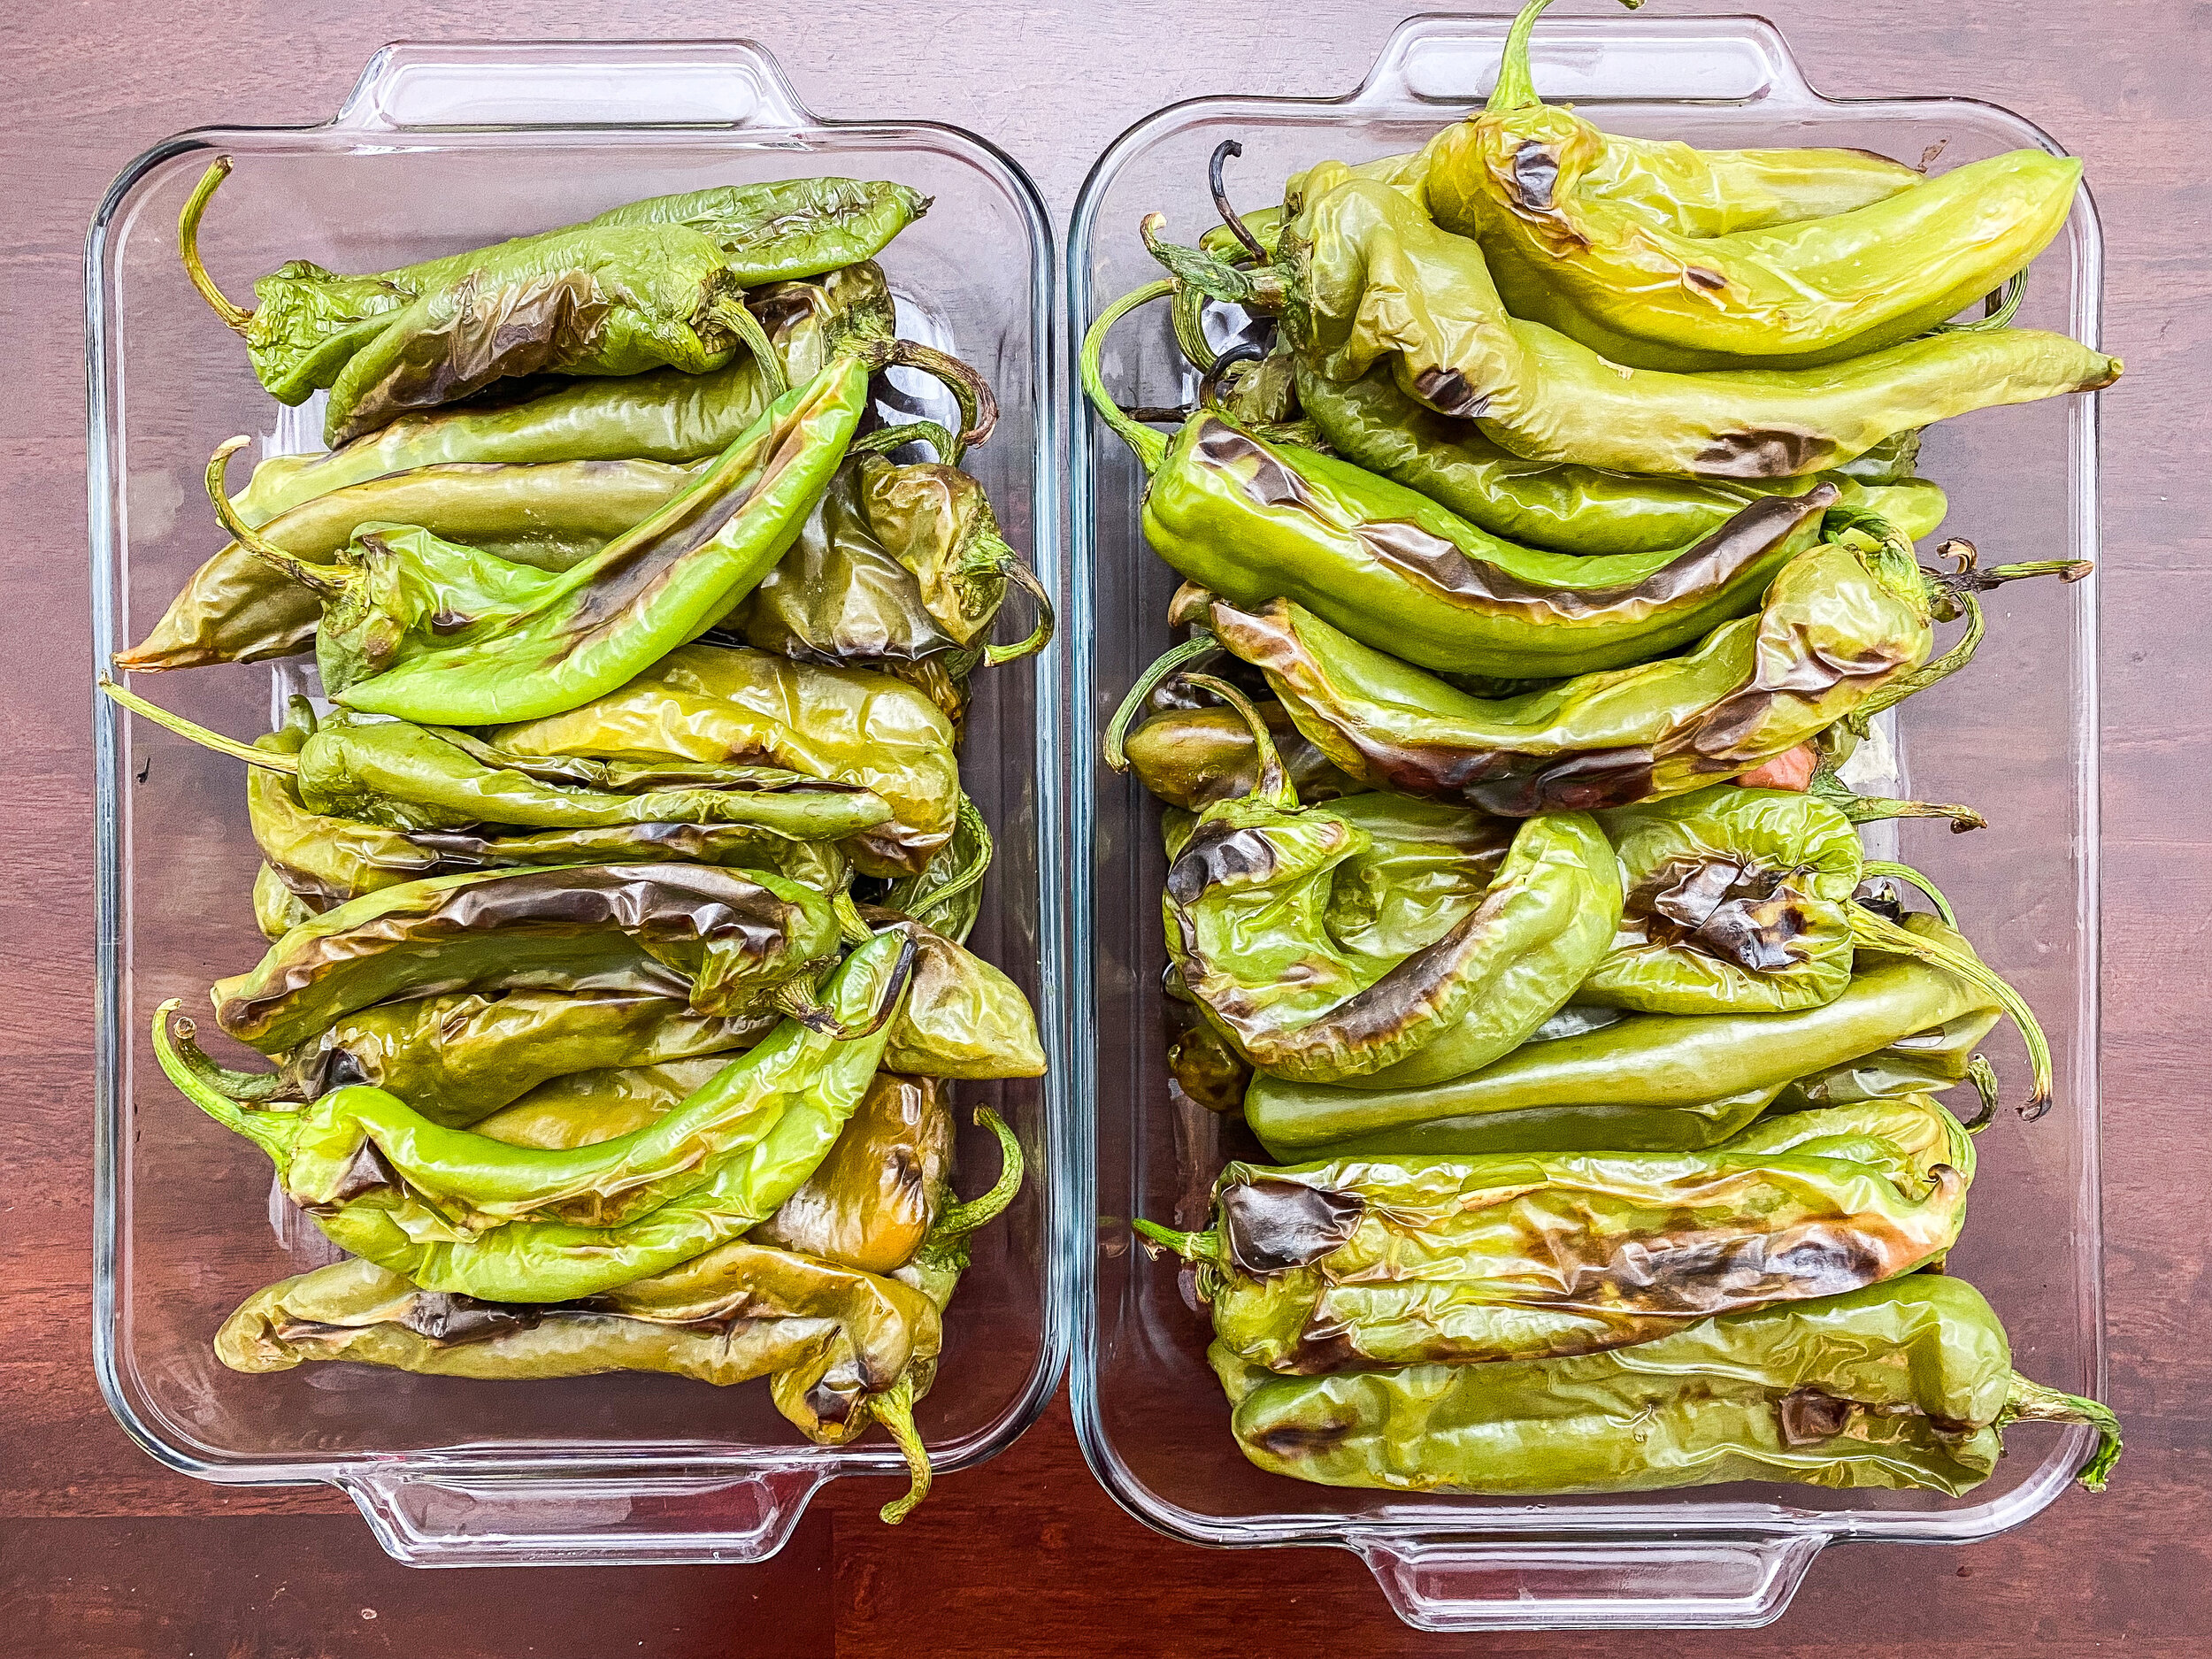
- Lay out all the chile onto a lined cookie sheet. It’s okay to load the tray up because that helps keep them from falling over. This comes in handy with getting all the sides roasted.
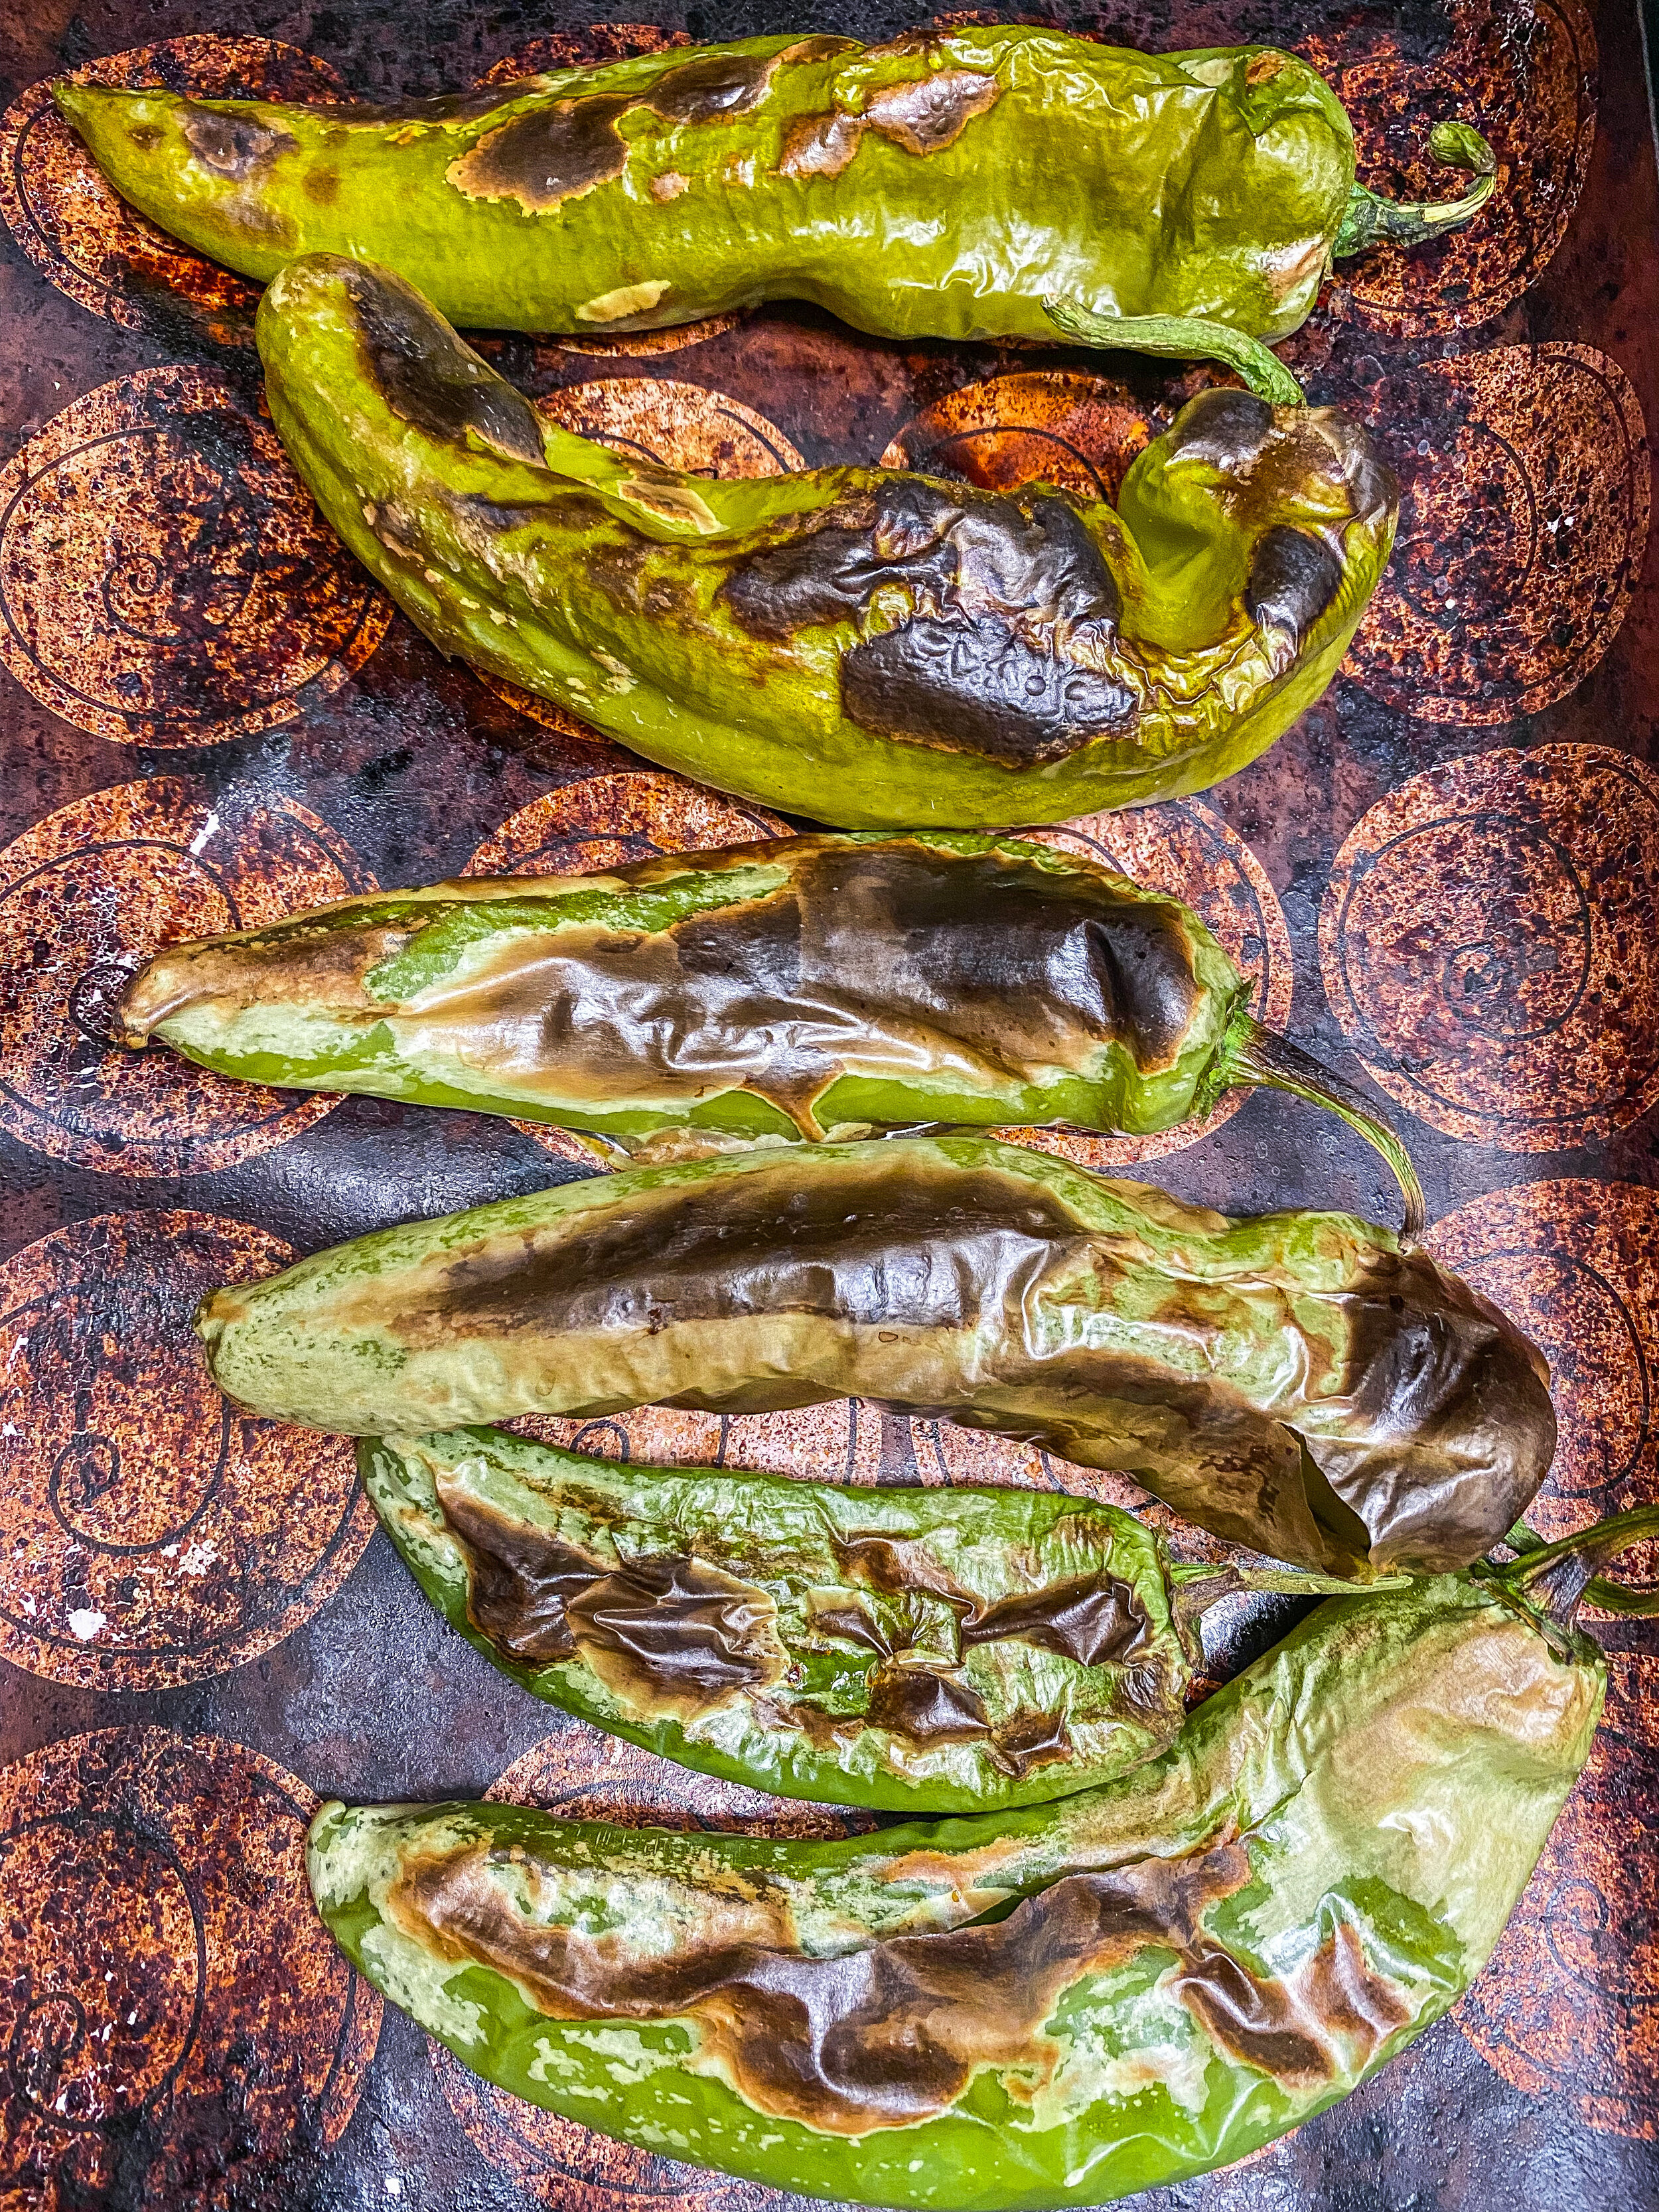
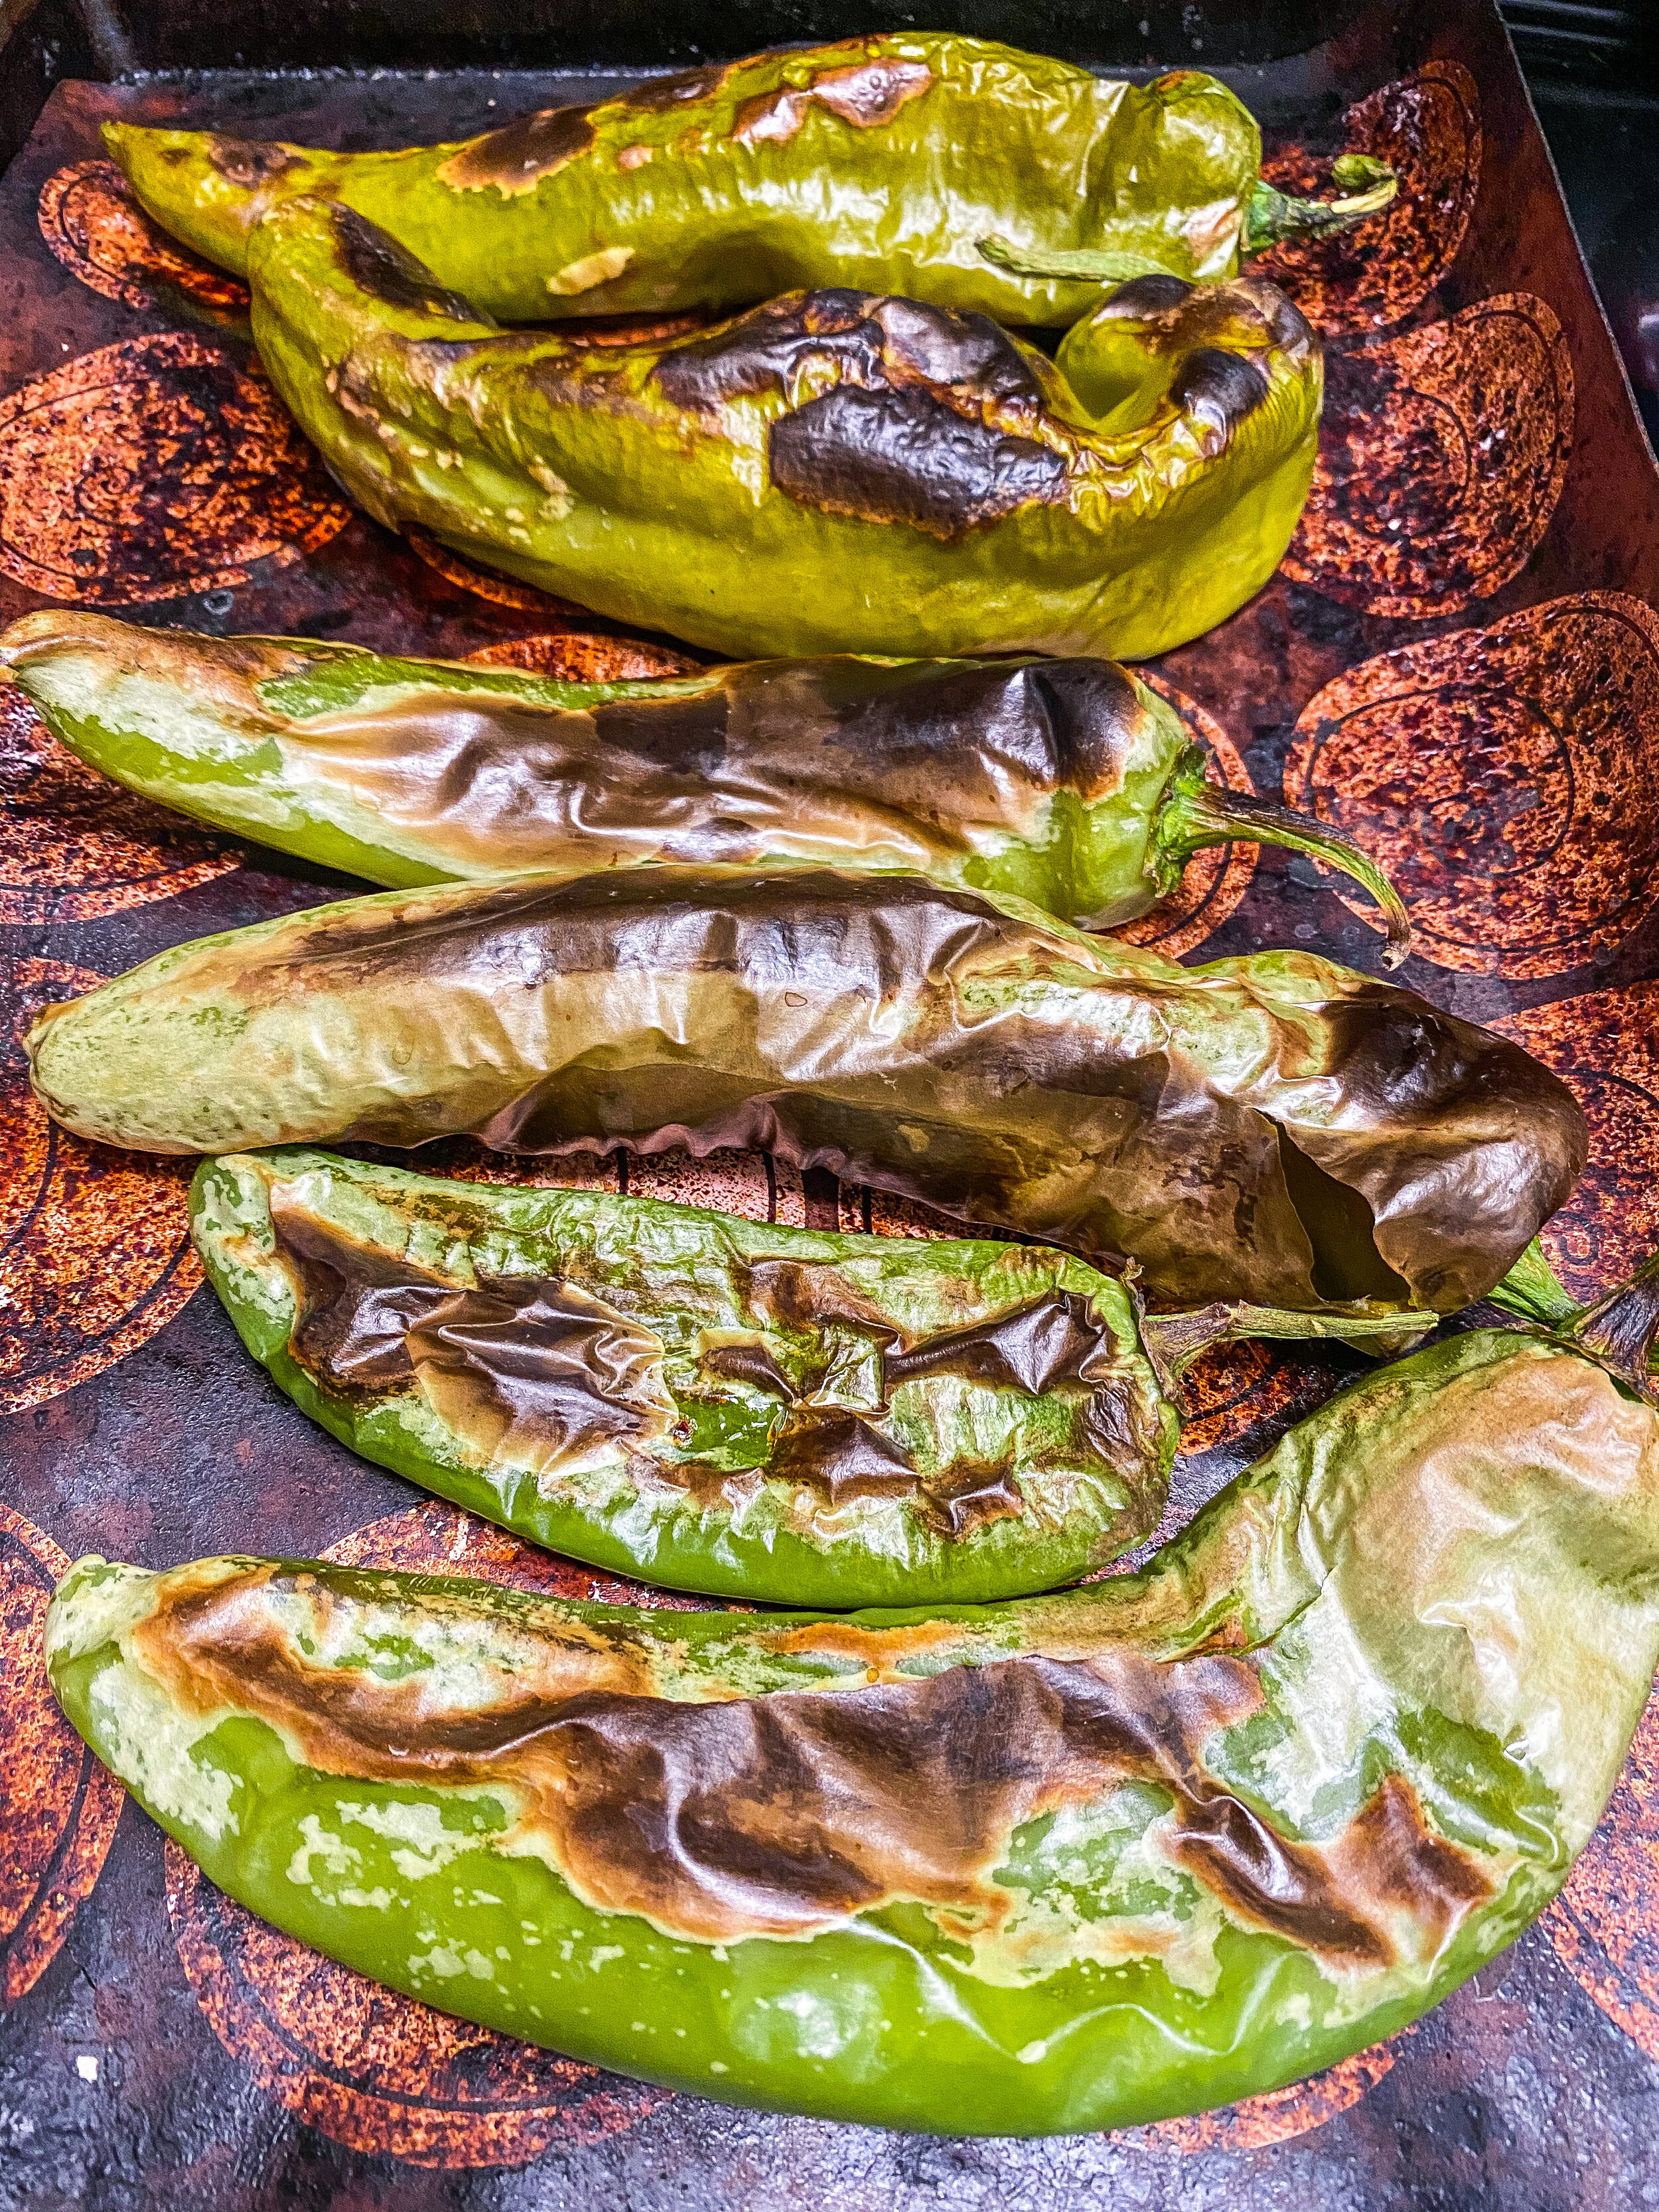
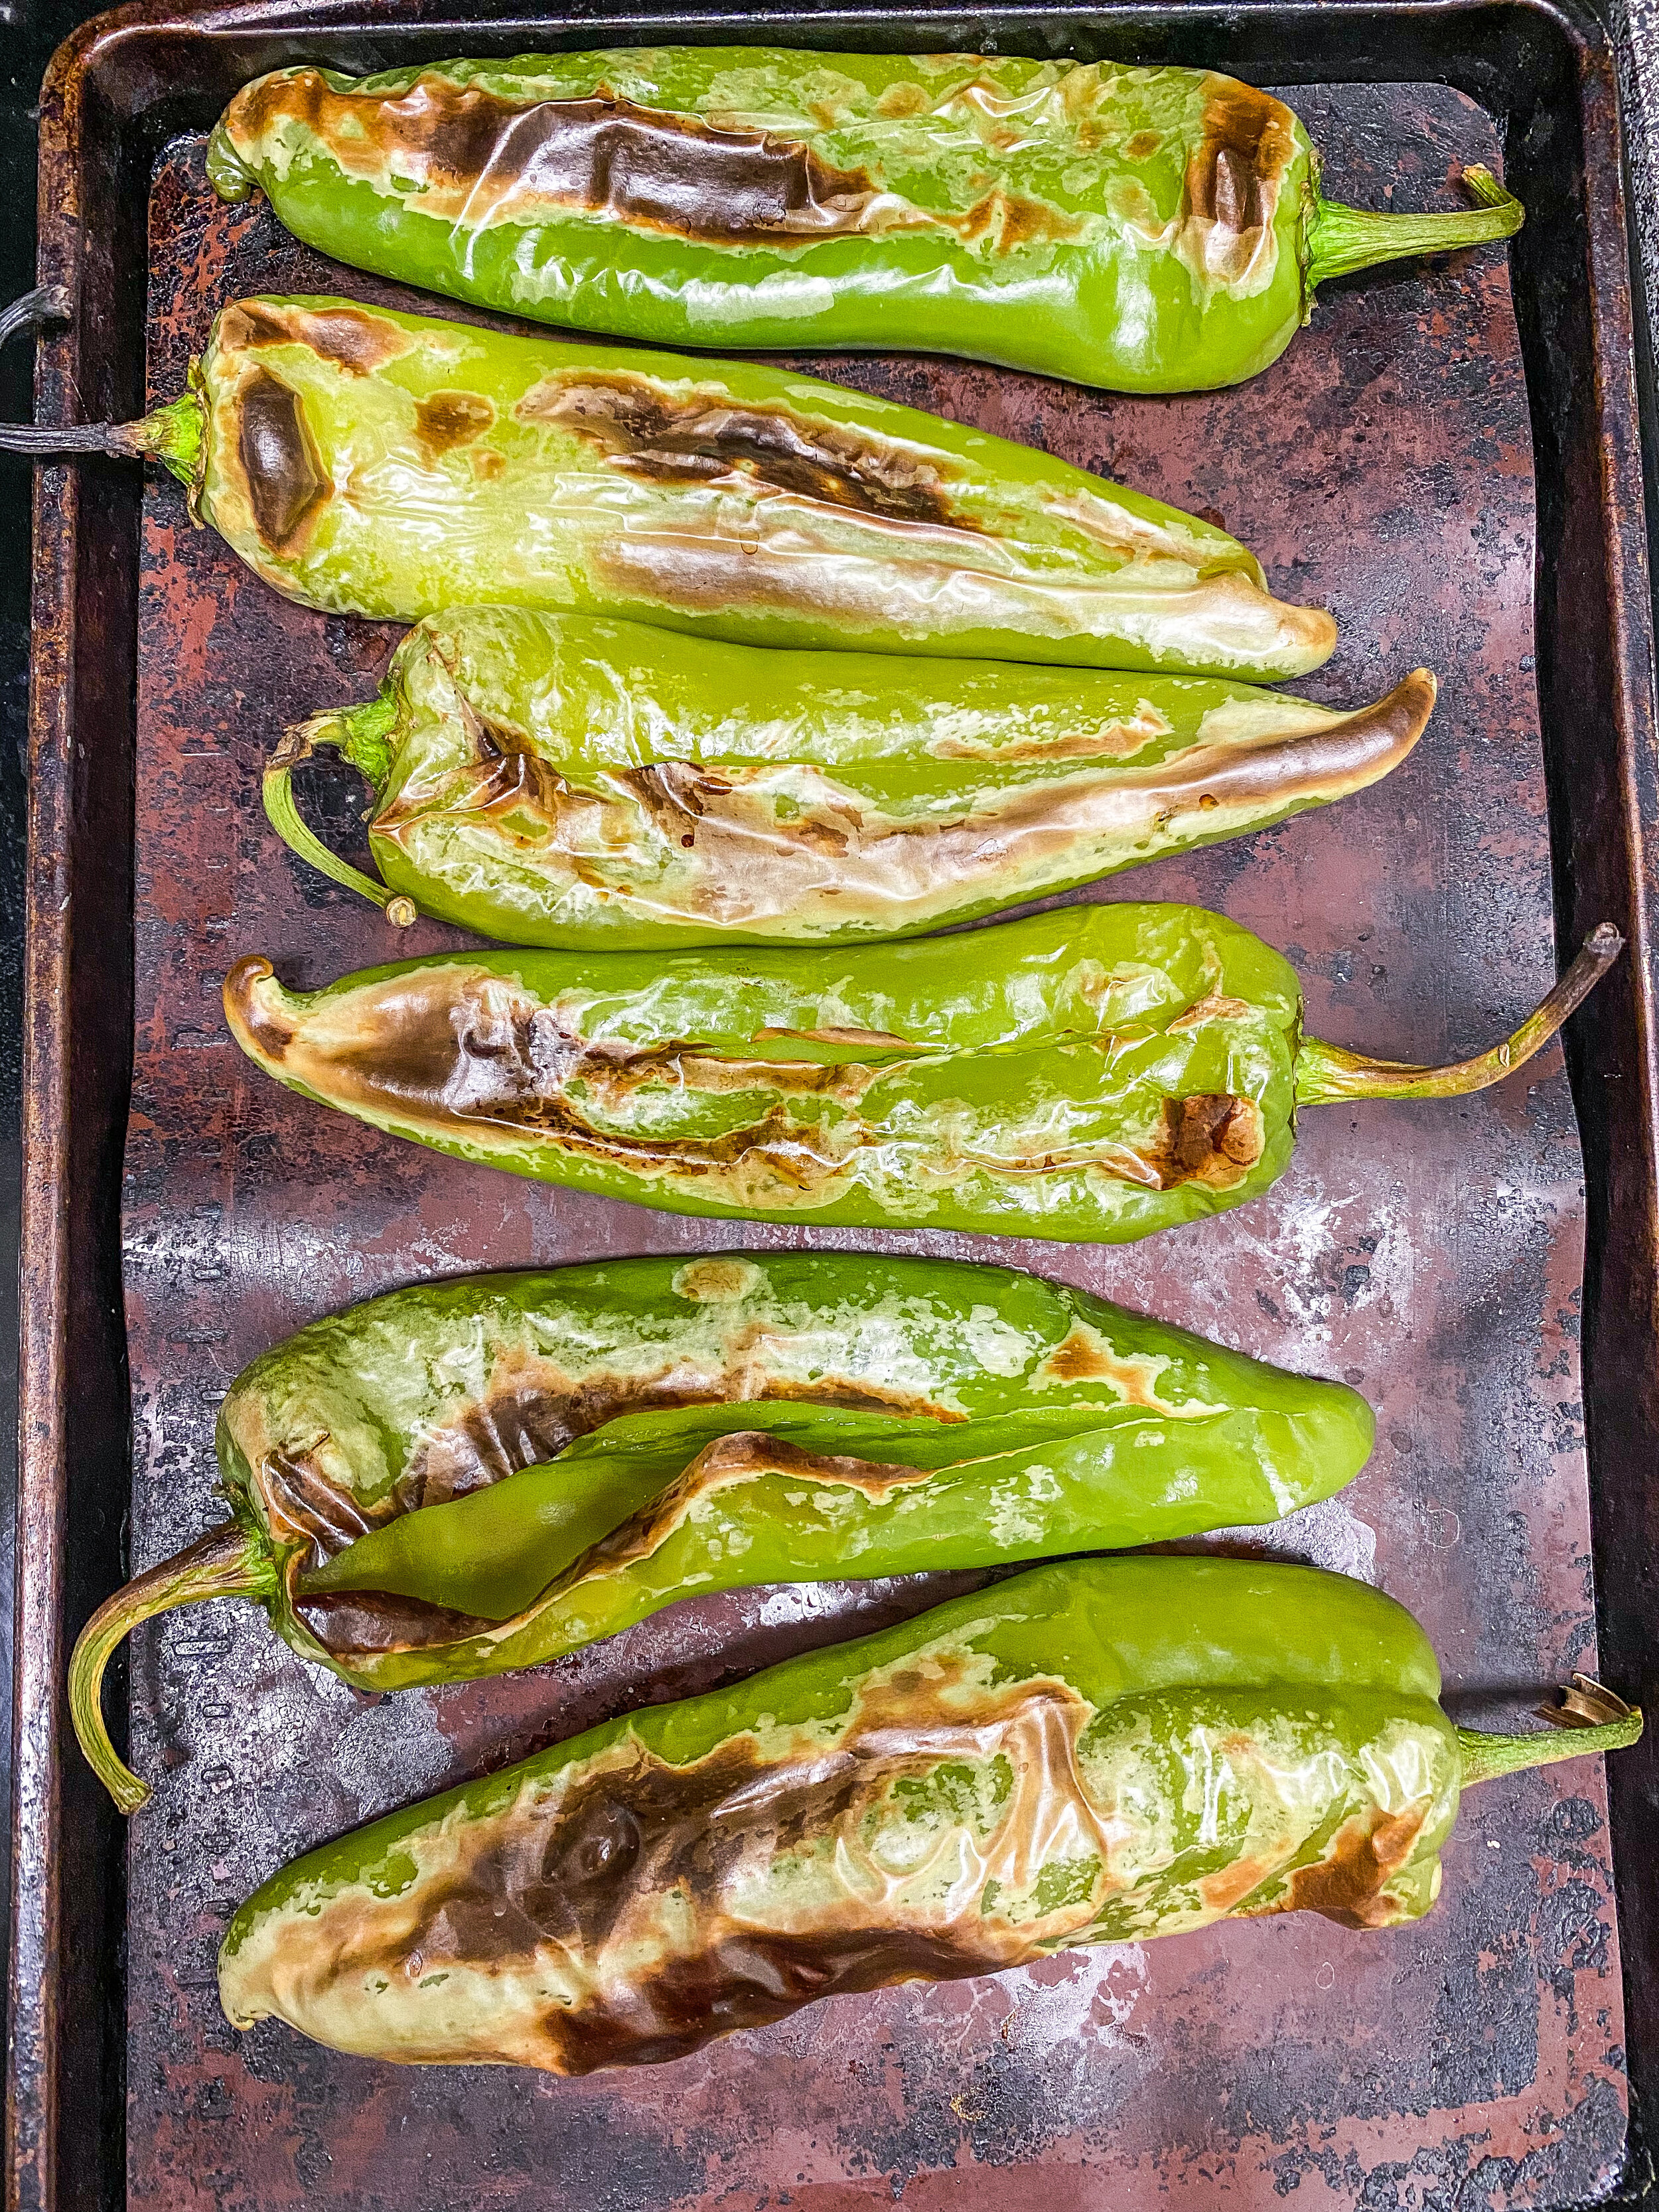
- Broil each cookie sheet for five to six minutes, pulling them out and rotating the chiles to roast all sides.
- Put back in and continue to roast all sides the same way.
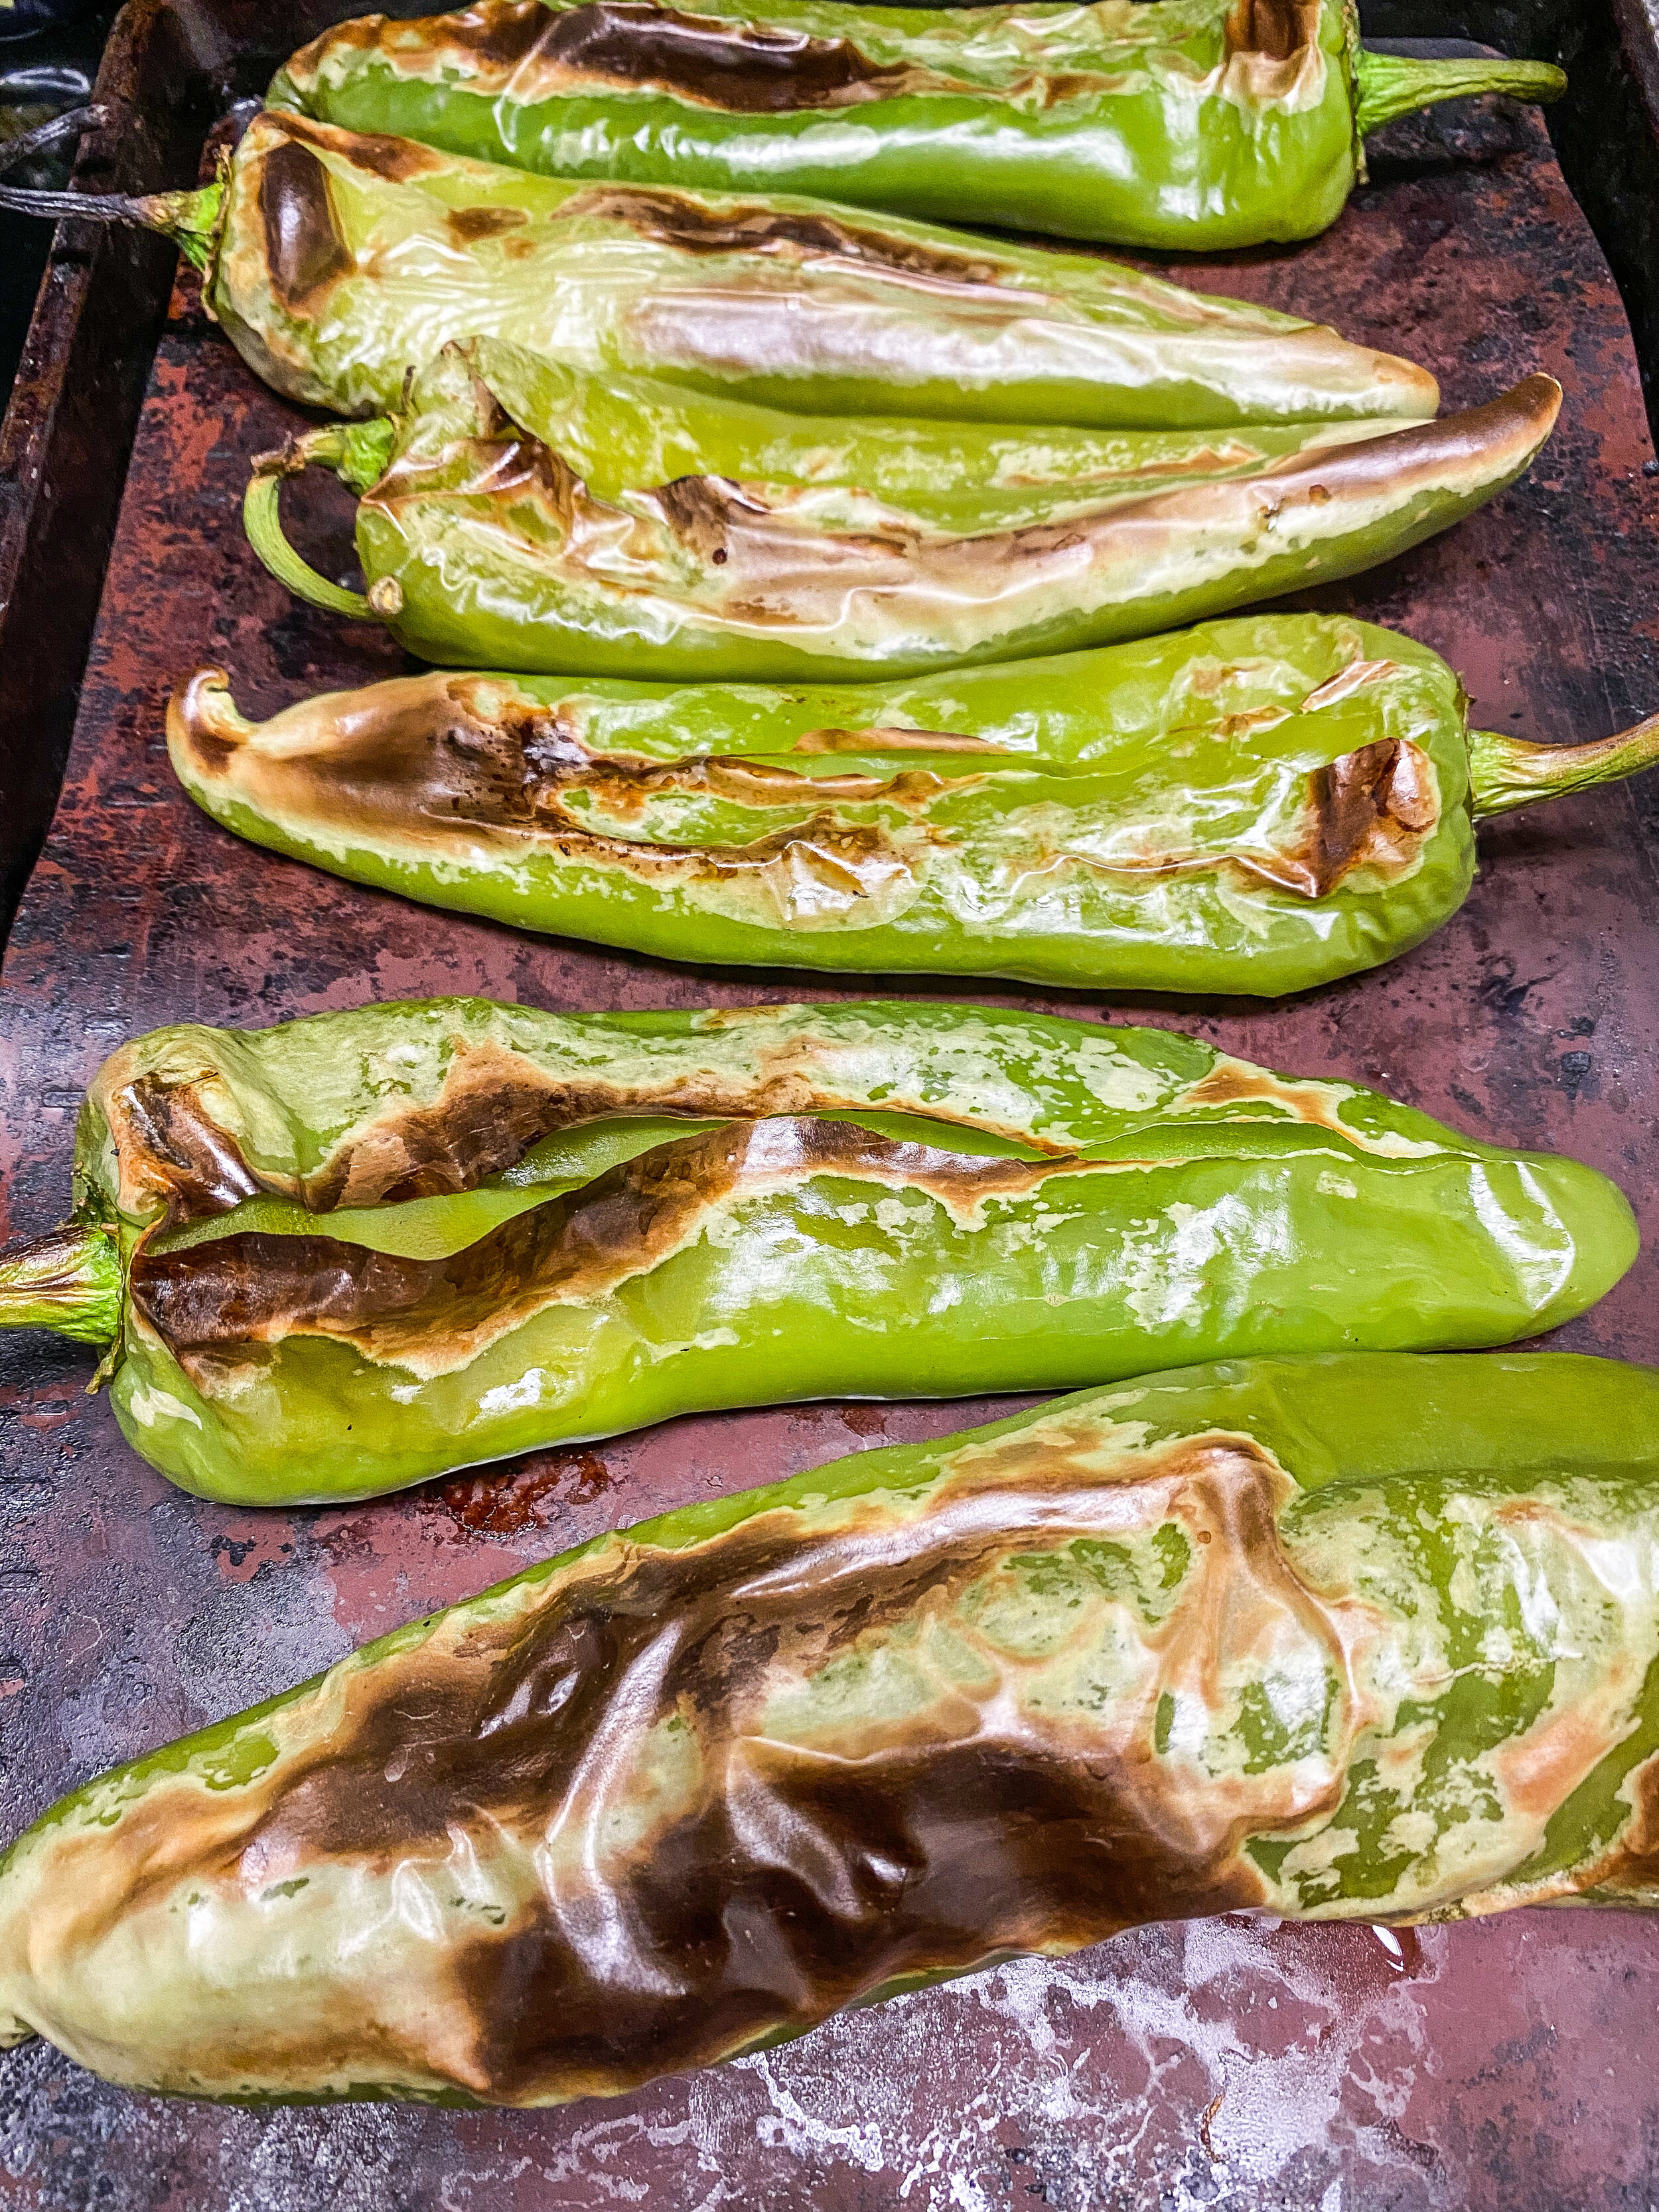
- If cooking with more than one cookie sheet at time, make sure to rotate them in the oven so they get evenly cooked. You want the skins to puff up and get a char look to them. They will pop and hiss as they expand to release air so don’t be alarmed.
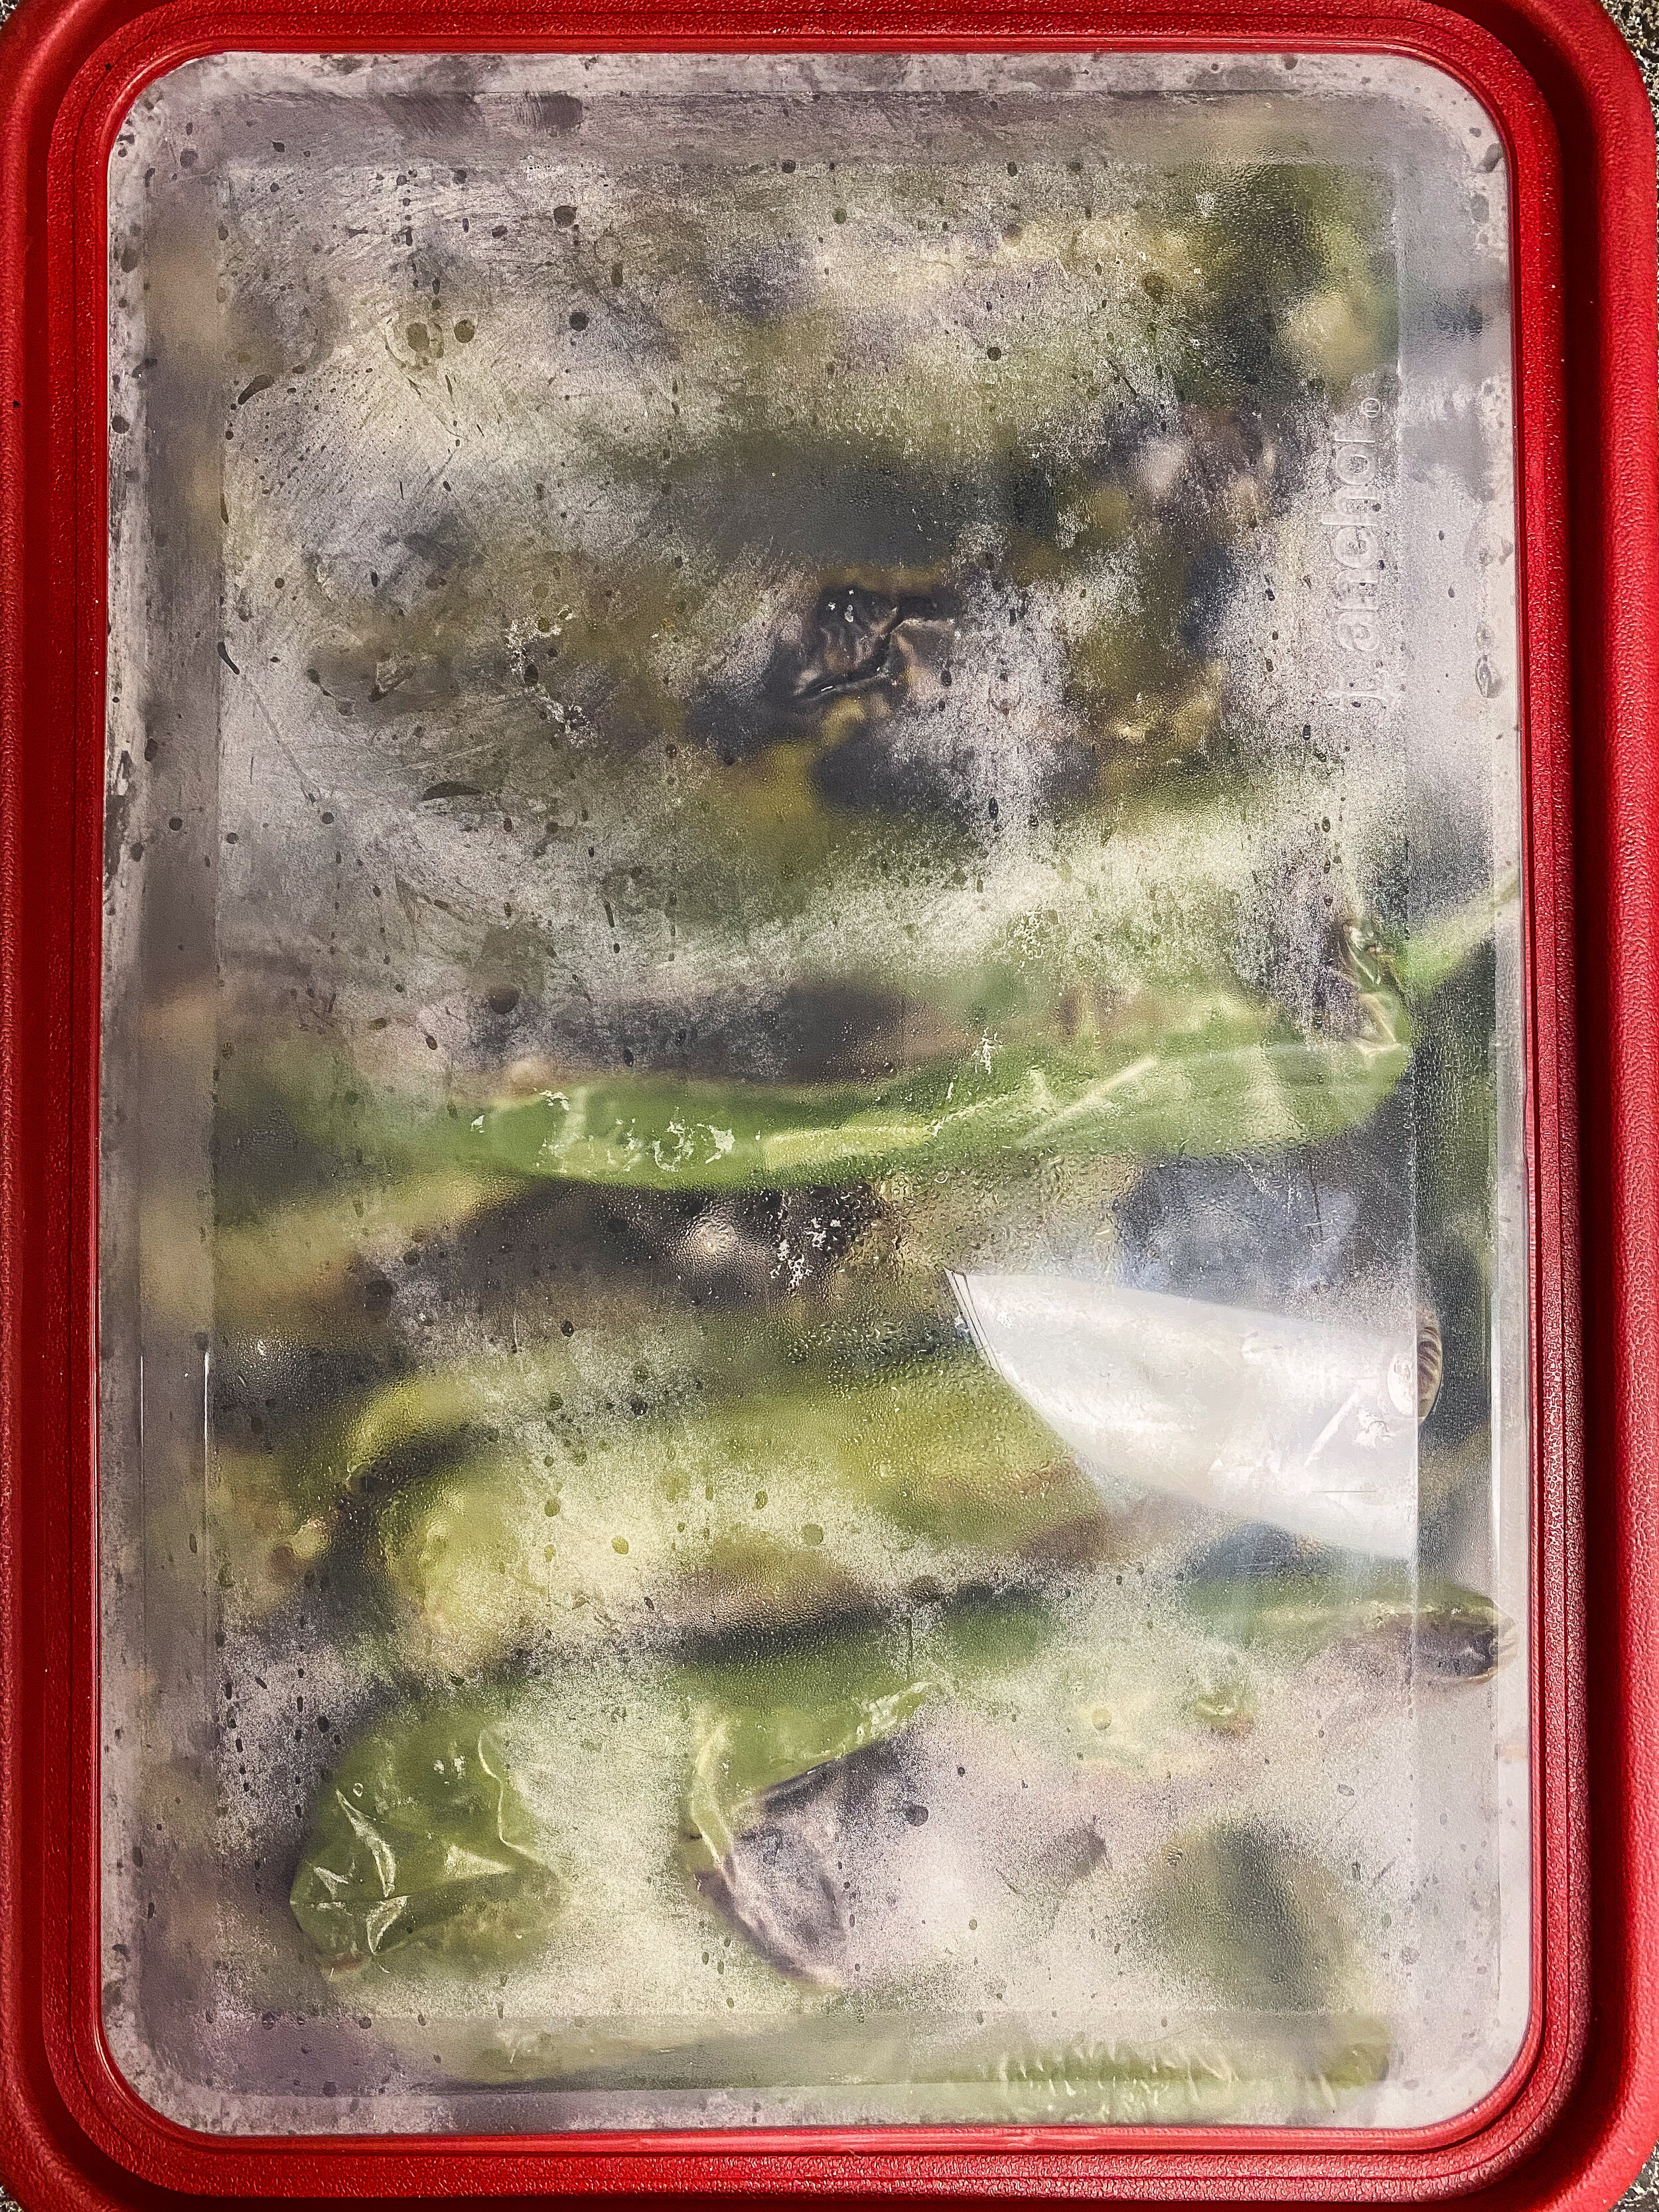
- Once all sides have been roasted, pull them out to steam them. This can be done one of two ways.
- First way is to lay out a large dish towel you get wet with warm water and rinsed out. Lay the chile out on the warm towel and lay another wet, warm dish towel on top. This will trap the heat in and steam it as well.
- The second way is to put them in a sealable container larger enough for all of them to steam for five to ten minutes. I had to use a couple of different containers and rotated them around to keep things evenly steamed.
- Either works well and depends on preference and what you have on hand.
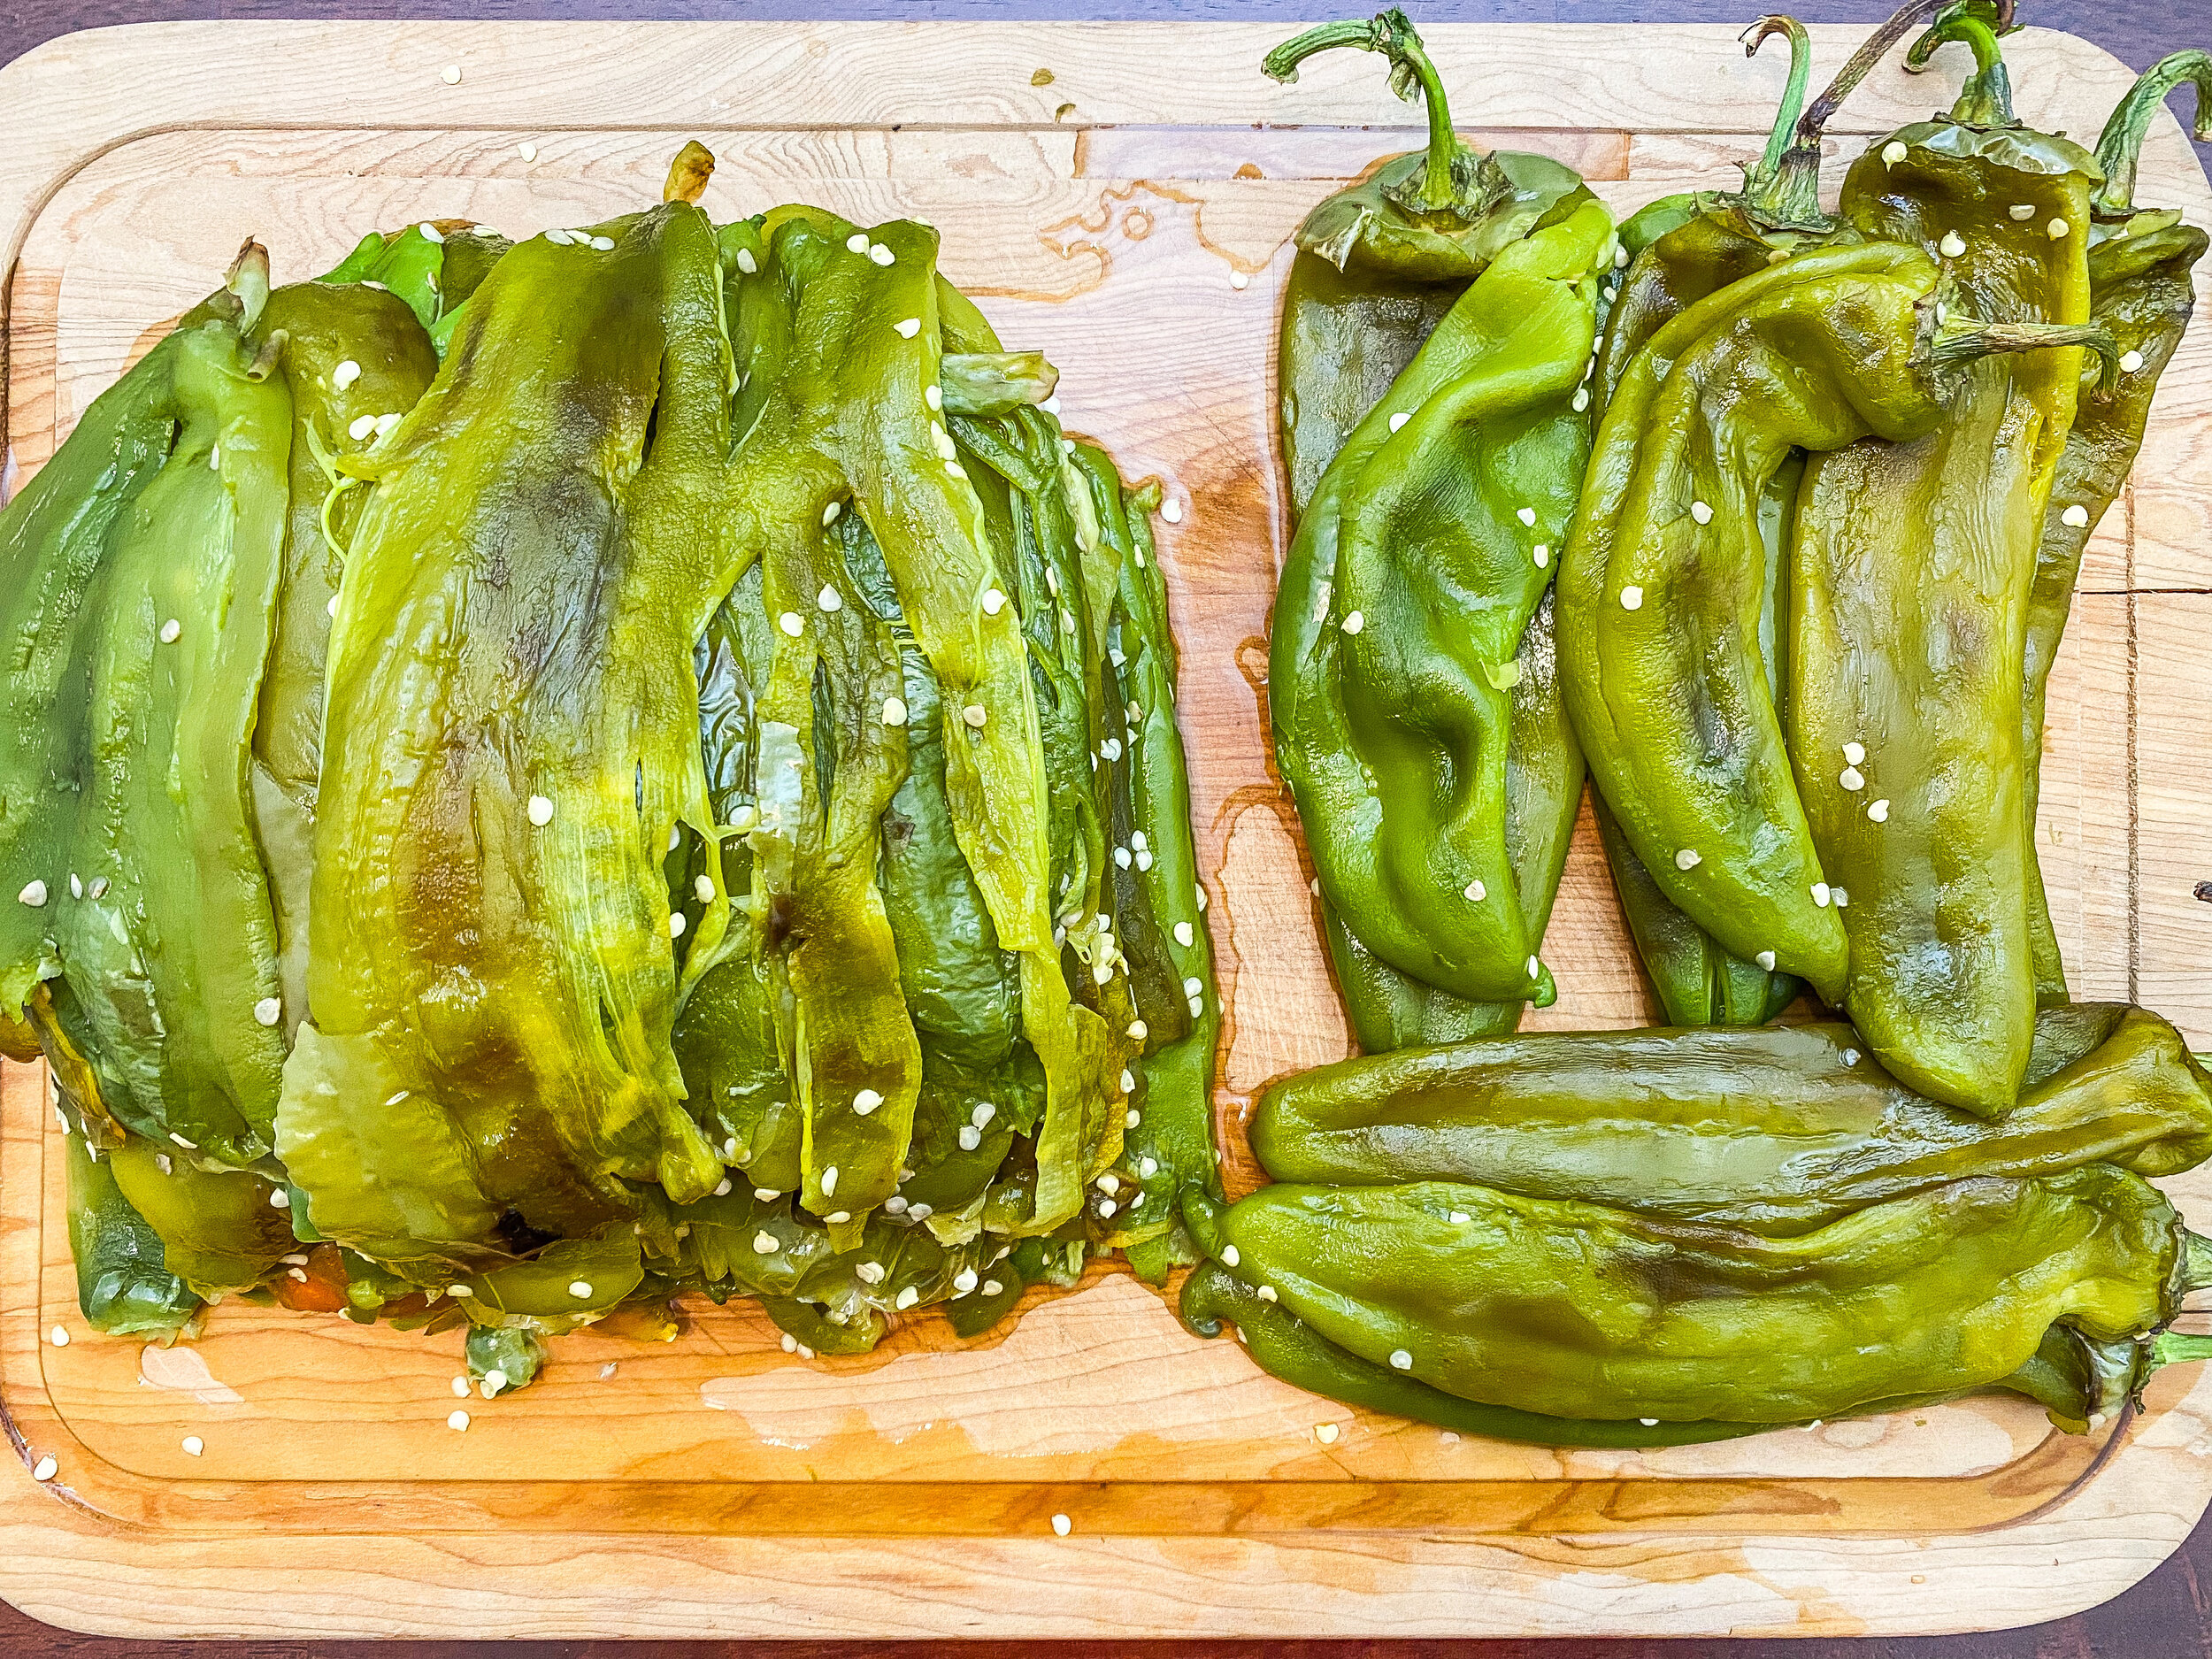
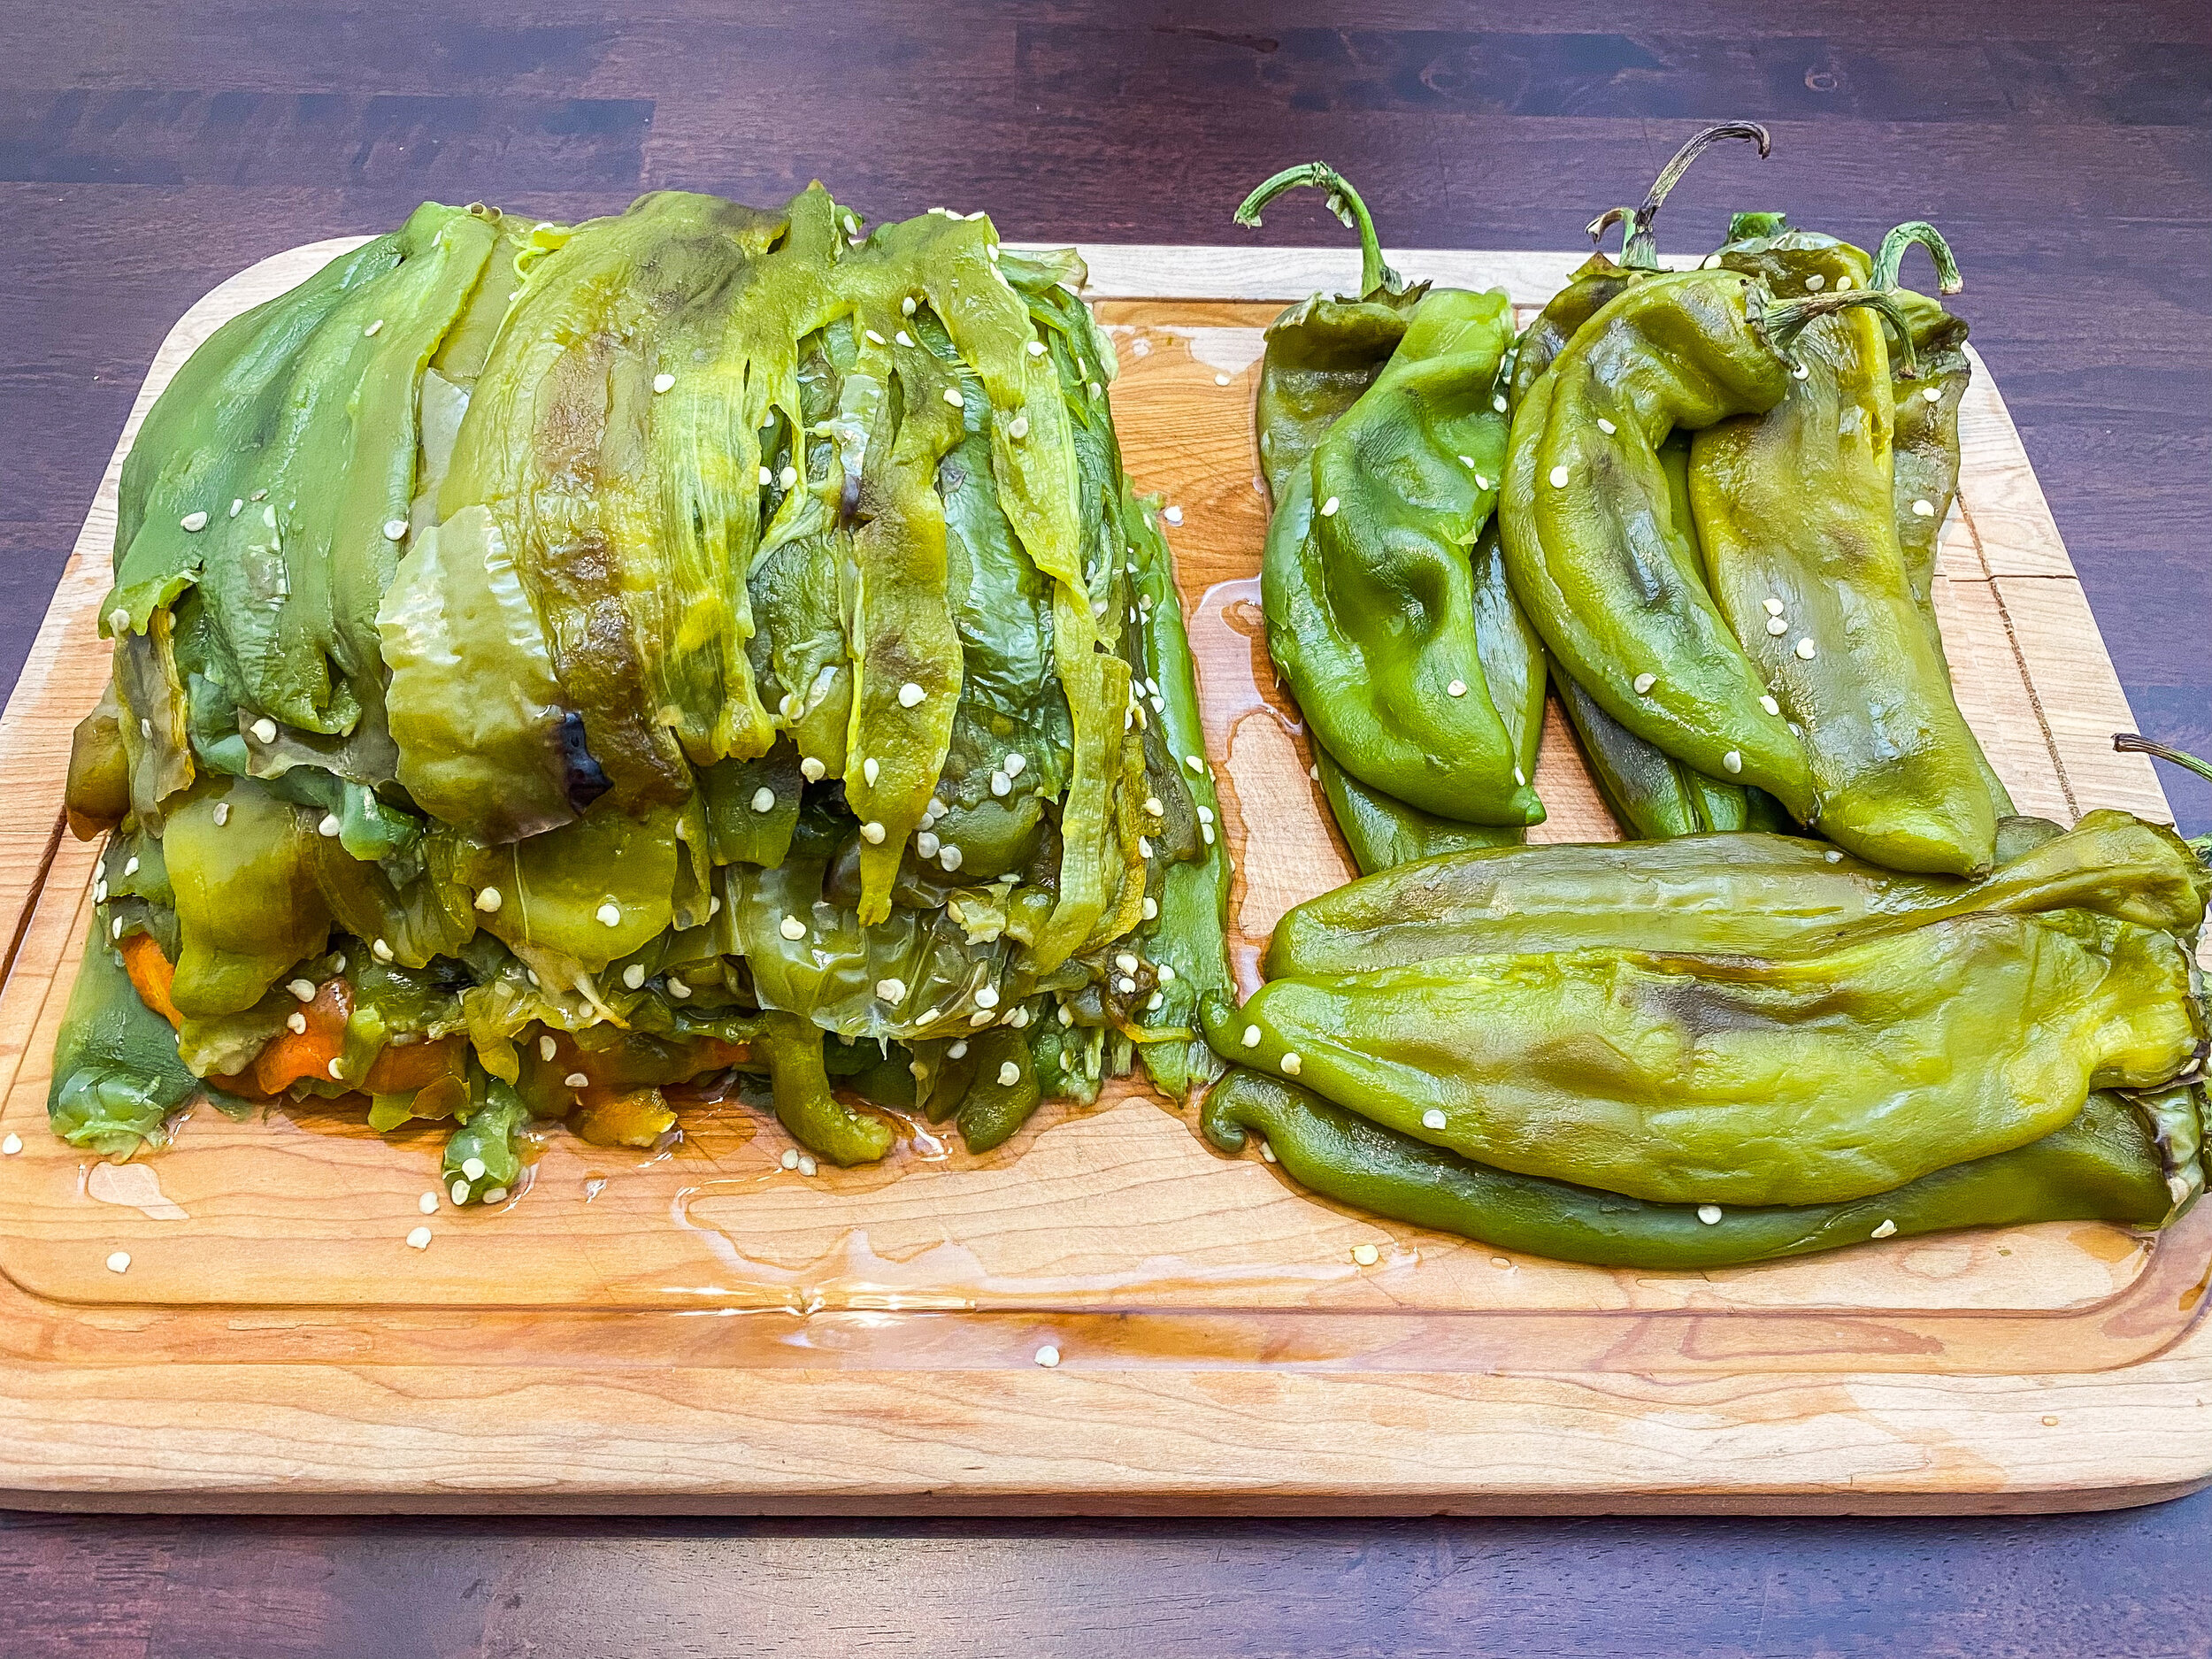
- After you have steamed these for about ten minutes, take chiles out and gently pull skin off all the sides.
- If you gently pull the stem off the chile, it will pull the top, base of seeds, and most of the veins all at once. The veins and seeds are what make the chile hot so I like to leave some of the seeds in to keep the heat in.
- When making chile rellenos I kept the stem on and just made a little hole to pull out the seeds and veins the best I could for presentation purposes.
- Once chile is skinned, deveined, and deseeded, split the chile in half and lay them out on top. Dice up and keep in sealed container in freezer or fridge.
- Chile in fridge should keep for 7-10 days and in the freezer for 6 months to a year depending on sealed container. After too long in the freezer, the frost bite will kill the chile.
Notes:
*Cook time is if you did one batch of chile on a cookie sheet. That's about how much each batch takes to roast. More or less depending on your broiler.
The pictures I used for this recipe included ten pounds of green chile.